
 Business License
Blog Categories
Mold Development for Custom Buttons: From Drawing to Production Tooling
Button mold development is the step where a design stops being a drawing and becomes a manufacturable part. It decides how the button will look in production, how consistently the cavity will fill, how long the tool will last and how much of the total programme cost is spent before a single button is shipped.
This guide follows the process from a buyer's artwork or sample through button die making to the first production run. It sets out the tooling routes used for moulded and metal parts, the stages that make up a normal development schedule, and the cost drivers behind a custom button mold cost so that a quotation can be read rather than simply compared.
1. What Button Mold Development Covers
Three routes cover almost all custom buttons. An injection mould produces plastic and resin parts by filling a cavity with molten polymer, a die casting die produces metal parts by forcing molten alloy into a steel die, and a stamping or progressive die cuts and forms a metal part from strip. Each route has its own tooling logic and its own cost structure.
The route follows the material rather than the appearance. Two buttons that look identical on a design sheet can need completely different tooling, one a multi cavity injection mould and the other a progressive stamping die with several stations. That is why button mold development starts with a material decision rather than with a shape decision.
| Route | Material | Typical part |
|---|---|---|
| Injection mould | POM, ABS, resin, nylon | Plastic snaps, shank buttons, caps |
| Die casting die | Zinc alloy, aluminium | Decorative bodies, badges |
| Stamping or progressive die | Brass, steel strip | Eyelets, washers, rivets |
| Machined prototype | Any | Sample for approval alone |
| Hybrid tools | Mixed | Metal body with a moulded insert |
Difei Button asks for the intended material and the expected annual quantity before discussing button mold development, because those two answers narrow the tooling route faster than any drawing does.
2. Button Die Making: From Drawing to Steel
Button die making turns an approved design into a hardened tool. The sequence runs from a dimensioned drawing to a three dimensional model, then to electrode or cutter manufacture, then to the cavity and core, and finally to fitting and trial. For a stamped part the equivalents are the die plate layout, the punch and die clearances, and the progression of stations.
The drawing has to carry more than the visible shape. Wall thickness, draft angle, gate position, parting line and the shrinkage allowance of the chosen material all belong in the tool design, and a design that omits the draft angle will produce a part that cannot be ejected without damage.
| Step | Output | Typical duration |
|---|---|---|
| Drawing review | Feasibility notes | 1 to 3 days |
| Tool design | Mould layout and parting line | 3 to 7 days |
| Steel and electrode work | Cavity, core, punches | 5 to 15 days |
| Fitting and trial | First shots or first stampings | 2 to 5 days |
| Correction | Dimension and cosmetic adjustment | 3 to 10 days |
3. Custom Button Mold Cost: What Drives It
A custom button mold cost is built from four variables, and none of them is the appearance of the part. The number of cavities decides how many parts come off each cycle and therefore how much steel and machining the tool needs. The steel grade decides both the tool price and the working life. The complexity of the form decides how much hand finishing and polishing is required, and the tolerance requirement decides how much correction work follows the first trial.
Two buyers can order buttons of the same diameter and face very different quotations, because one tool is a single cavity prototype tool in a general purpose steel and the other is a multi cavity production tool in a hardened grade with a polished cavity. Both are correct; they simply serve different volumes. Reading a quotation against these four drivers is more useful than comparing totals, because a lower figure usually means fewer cavities or a softer steel rather than a better process. Difei Button quotes the tooling drivers separately from the unit price for that reason.
| Driver | Effect on cost | Effect on output |
|---|---|---|
| Cavity count | Higher cost, better unit economics | More parts per cycle |
| Steel grade | Higher cost for hardened grades | Longer tool life |
| Form complexity | More machining and polishing | Better detail |
| Tolerance band | More correction work | Closer dimensional control |
| Surface finish | More polishing time | Glossier or more matte face |
Where an existing mould can be adapted rather than replaced, a modified tool is usually the least expensive route, and a supplier with a broad mould library can often offer that option before a new tool is designed.
4. Button Mold Development Stages and Timelines
A normal button mold development schedule runs through five stages: design, tool manufacture, trial, correction and approval. The trial stage is where most of the uncertainty sits, because the first shots reveal problems that a drawing cannot, such as a weld line across a visible face or a short fill in a thin rim.
Timelines vary with complexity and with the queue at the tool shop, but a simple moulded part can move from drawing to approved first article in a few weeks while a multi cavity tool with a decorative face takes considerably longer. Building the correction stage into the plan rather than treating it as an exception is what keeps a schedule realistic.
| Stage | Purpose | Exit condition |
|---|---|---|
| Design | Confirm feasibility and material | Approved tool drawing |
| Tool manufacture | Produce cavity, core and punches | Tool assembled and fitted |
| Trial | First shots on the intended machine | Parts to inspect |
| Correction | Fix dimensions and cosmetics | Parts inside tolerance |
| Approval | Signed sample and settings | Gold sample retained |
5. Button Die Making Tolerances and Materials
Button die making works to tolerances that follow the function of the surface. A mating diameter between a stud and a socket needs a tighter band than a decorative rim, while a washer thickness can sit inside a wider range without affecting performance. Splitting the drawing into functional and cosmetic tolerances keeps the tool affordable without weakening the part.
Steel selection follows the volume. A pre hardened mould steel suits low and medium volume runs and is cheaper to machine. A hardened stainless grade costs more but resists corrosion in the mould and holds a polished finish through a much longer run, which matters for transparent or high gloss parts.
| Surface | Tolerance band | Reason |
|---|---|---|
| Mating diameter | Tight | Sets the release and grip force |
| Post diameter | Tight | Sets the setting behaviour |
| Decorative rim | Moderate | Cosmetic alone |
| Washer thickness | Moderate | Stack allowance absorbs it |
| Overall height | Moderate | Controlled at assembly |
6. Custom Button Mold Cost: Amortisation and Ownership
The second half of a custom button mold cost is not the tool itself but how it is paid for. Some suppliers quote the tool as a separate one time charge, others fold it into the unit price across a minimum quantity, and some retain ownership of the tool while granting the buyer exclusive use for the part.
Each model suits a different relationship. A separate tooling charge keeps the unit price clean and makes the tool an asset the buyer can move if the relationship changes. An amortised model reduces the cash needed at the start of a programme but makes the unit price depend on hitting the agreed quantity. Ownership and use rights should be stated in writing whichever model is chosen.
| Model | Up front | Consideration |
|---|---|---|
| Tool charged separately | Full tool cost | Buyer owns the asset |
| Amortised into unit price | Low | Quantity dependent |
| Supplier owned, exclusive use | Low | Right of use, no ownership |
| Tool adapted from stock | Lowest | Limited to existing shapes |
7. Sampling and First Article from a Button Mold
The first article is the real deliverable of button mold development. It should be produced on the machine that will run the order, at the cycle and pressure intended for production, because a part made on a slow trial machine behaves differently from one made on a fast production press.
Inspection of the first article covers dimensions, appearance against the approved standard, function on the mating part, and the assembly behaviour when the closure is set into the intended fabric. Difei Button (Guangzhou) Co Ltd keeps the approved first article as a gold sample and records the machine settings beside it, so that a repeat order can be reproduced rather than redeveloped.
| Check | Method | Acceptance |
|---|---|---|
| Dimensions | Measured against the tool drawing | Inside the stated band |
| Appearance | Against the approved artwork | No weld line on a visible face |
| Function | Mated with its counterpart | Grip inside the band |
| Setting test | Set into the garment panel | Holds without panel damage |
| Record | Settings and sample retained | Reproducible on repeat |
8. Maintaining a Custom Button Mold in Production
A tool degrades slowly, and the drift appears in the parts long before the mould fails. A cavity that has run hundreds of thousands of cycles loses its polish, the flash line grows, and dimensional scatter widens. Tracking shots against each tool and inspecting at fixed intervals catches the drift before it reaches a shipment.
Maintenance is scheduled rather than reactive. Cleaning at defined intervals, re polishing the cavity when the surface dulls, and replacing punches on count rather than on failure all extend the working life of the tool and keep the parts consistent across a long programme. Difei Button holds spare cavity inserts so that a worn tool can be repaired without stopping a running order.
| Activity | Interval | Purpose |
|---|---|---|
| Visual cavity check | Each production run | Catch damage early |
| Cleaning and re polish | By shot count | Restore surface finish |
| Punch replacement | By count or wear | Hold cut quality |
| Dimensional audit | Fixed intervals | Detect scatter growth |
| Spare cavity insert | Held in stock | Rapid repair without downtime |
9. Frequently Asked Questions
9.1 How long does button mold development take?
A simple moulded part can move from an approved drawing to a first article in a few weeks, covering design, tool manufacture, trial and correction. A multi cavity tool with a decorative face or a tight tolerance on a mating diameter takes longer, because the correction stage after the first trial usually needs more than one pass. The practical advice is to plan the schedule around the trial and correction stages rather than around tool manufacture, since that is where the uncertainty sits. Allow time for one correction round as standard.
9.2 What makes a custom button mold cost higher than expected?
Four things, and the first is cavity count, because more cavities means more steel, more machining and a larger mould base. Cavity count usually rises when the expected annual quantity is high, since the better unit economics justify the larger tool. After that come steel grade, the amount of hand polishing a complex form needs, and the correction work that a tight tolerance band demands. Where an existing mould can be adapted instead of replaced, the custom button mold cost usually falls substantially without any change to the part.
9.3 Can an existing mould be modified instead of making a new one?
Often it can, and a supplier with a broad mould library will usually check that option before quoting a new tool. A modification can change a cavity insert, replace a logo area, adjust a core pin or re cut a detail while the mould base, cooling and ejection system stay in place. The limit is the shape of the existing part: a modification can refine a form but cannot turn a round cap into a square one. Where the new design is close to a standard part, asking for a modified tool first is the least expensive route.
9.4 Who owns the mould after it has been paid for?
That depends entirely on the commercial model and it should be written down. Where the tool is charged separately as a one time item, the buyer normally owns the asset and can move it. Where the cost is amortised into the unit price, ownership commonly stays with the supplier, and the buyer holds a right of exclusive use for that part instead. Whichever model applies, the agreement should state who owns the tool, who may use it, what happens if the relationship ends, and who pays for storage between runs.
Recently Posted
-
Batch Consistency at Difei Button: Why Buyers Reorder
October 15, 2026A buyer rarely changes supplier because of price. The usual reason is a second order that does not match the first, and by the tim Read More
 -
Injection Molding Parameters for Plastic Snap Buttons
October 15, 2026An injection molding snap button is not a difficult part to make. It is a small part with a thin spring section, and that spring s Read More
 -
Eyelet Rust and Washer Loss in Wet-Wash Garments
October 15, 2026Two faults arrive together on wet-wash programmes, and they are usually reported as one. Eyelet rusting shows as a brown bloom aro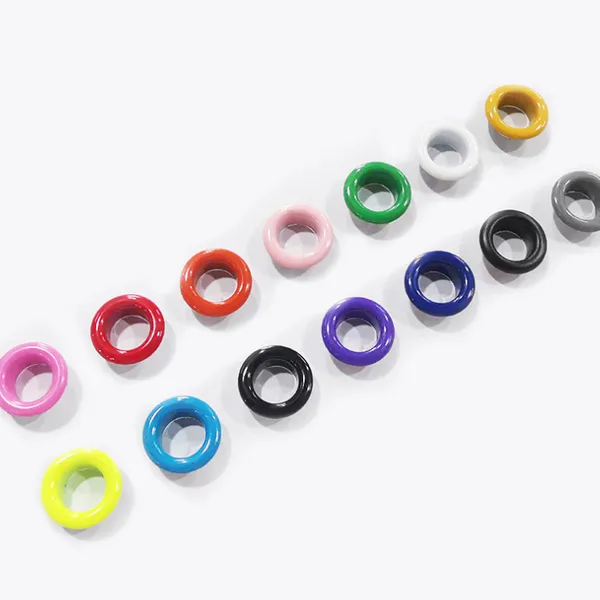 Read More
 -
Badge Plating Wear and Adhesive Failure: Quality Checks
October 15, 2026Two faults decide whether a badge programme survives its first year. Badge plating wear appears at the high points of the relief,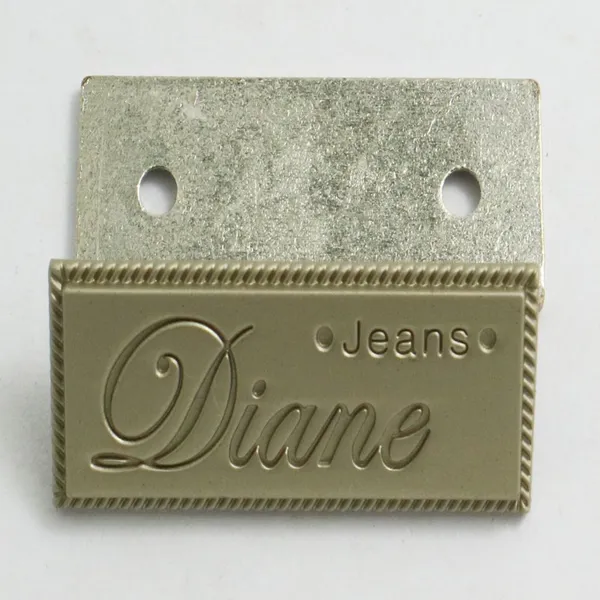 Read More

Contact Us
Recommended Products
-
 Clothing Accessories Lead Free Brass Metal Ring Prong Snap Button With 4 Parts for Infant Baby Clothes Baby BibsUS$ 0.01 - 0.03MOQ: 5000 Sets
 -
Brass Metal Stainless Steel Material Ring Prong Snap Button With 4 Parts Lead Free & Nickel Free for Infant Baby Clothes Baby Bibs Baby SuitsUS$ 0.01 - 0.03MOQ: 5000 Sets
-
Metal Grommets Eyelets Gold Eyelet for Bag Shoes and Garment AccessoriesUS$ 0.01 - 0.03MOQ: 5000 Sets
-
Cheap Price Custom Jeans Button Metal Custom Logo Metal Button for JeansUS$ 0.01 - 0.03MOQ: 5000 Sets
-
Factory Wholesale Hat Bag Clothing Press Snap Button Spring Snap Button Metal Snap ButtonsUS$ 0.03 - 0.06MOQ: 5000 Sets
-
Wholesale Plastic Round Coloured Snaps Button Press Fasteners for Baby Bibs/ Baby GarmentsUS$ 0.01 - 0.03MOQ: 50000 Sets
-
Custom EngravedCopper I Brass Metal Jeans Button Denim Clothes Jacket for Jeans DenimUS$ 0.01 - 0.03MOQ: 5000 Sets
-
17mm Open Hole Shank Button With Aluminum Nail With Logo for Jeans Jacket PantsUS$ 0.01 - 0.03MOQ: 5000 Sets
-
Eco-friendly Custom Size Plastic Snaps Plastic Snap Button for Baby Clothes, Baby BibsUS$ 0.01 - 0.03MOQ: 50000 Sets
-
12mm 15mm 17mm 20mm Four Parts Metal Brass Fastener Press Snap Button for Clothes JacketUS$ 0.03 - 0.06MOQ: 5000 Sets
-
Custom Logo Personalized High Quality Metal Press Snap Fastener Snap Buttons for Clothing Garments JacketUS$ 0.03 - 0.06MOQ: 5000 Sets
-
Custom Printing Round Press Spring Four Part Snap Button for Clothing Leather 405#17mmUS$ 0.03 - 0.06MOQ: 5000 Sets
-
OEM Garment Accessories Custom Baby Snap Button Press Metal Prong Pearl Ring Snap ButtonUS$ 0.01 - 0.03MOQ: 5000 Sets
-
Factory Stock Buttons Stainless Steel or Brass Material Colors Pearl Snap Button Prong Pearl Snap Button for Shirts ClothingUS$ 0.01 - 0.03MOQ: 5000 Sets
-
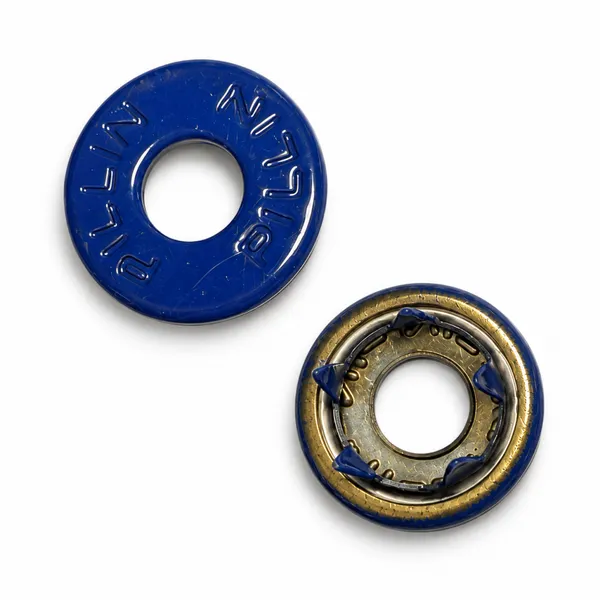
Apparel Hardware 222# Cap Prong Ring Snap Fastener 10mm for Coat FasteningNegotiableMOQ: 50000 Pieces
-
Open Hole Prong Ring Snap Button 222# 10mm for Leather Sewing ProjectsNegotiableMOQ: 50000 Pieces
-
Zinc Alloy 222# 10mm Open Hole Prong Ring Snap Button Wholesale for Clothing Factory UseNegotiableMOQ: 50000 Pieces
-
222# 10mm Open Hole Prong Ring Snap Fastener for Clothing Sewing and LeatherNegotiableMOQ: 50000 Pieces
-
Antique Bronze 222# 10mm Open Hole Cap Prong Ring Snap Buttons for Denim and Canvas GarmentsNegotiableMOQ: 50000 Pieces
-
New Style 222# 10mm Snap Buttons Cap Type for Bag DecorationNegotiableMOQ: 50000 Pieces