
 Business License
Blog Categories
Badge Plating Wear and Adhesive Failure: Quality Checks
Two faults decide whether a badge programme survives its first year. Badge plating wear appears at the high points of the relief, where the deposit is thinnest and where the badge is handled most. Badge adhesive failure appears at the edge of the patch, where a peel starts and then runs.
Neither fault is visible in a photograph of a new badge, and that is what makes them expensive. This article sets out where each one begins, which pin badge quality checks catch it before packing, and how to write the requirements so that a repeat order behaves like the first.
1. What Badge Plating Wear Looks Like in Service
Badge plating wear starts as a dulling rather than a colour change. A bright nickel surface that has lost its reflectivity at the rim is showing the first stage, and by the time a different colour appears under it the deposit has been breached.
The order in which a badge wears is predictable: the highest point of the relief, because it takes every contact, the rim, because it is gripped when the badge is picked up, and the pin or the clasp, because it moves against the fabric. A badge that fails at a recessed area rather than at a high point is usually a plating fault rather than a wear fault.
Two hundred handling cycles is a realistic figure for a lapel badge in a service uniform, and a test that runs a soft cloth over the relief for 500 cycles separates a decorative coating from a service one.
Badge wear is also a handling question rather than a material one in many programmes. A badge that is pinned on and taken off daily wears faster than one that stays on a uniform jacket for a season, and the difference can be a factor of five over a year. That is why the handling cycle count belongs in the specification next to the thickness figure.
2. Badge Adhesive Failure and the Fabric Side
Badge adhesive failure is often a fabric failure. The bond has to hold between the adhesive and the fabric, and if the fabric surface is a loose knit or carries a softener, the adhesive grips the fibre that comes away rather than the panel itself.
Three fabric conditions cause it. A raised or brushed surface, where the adhesive contacts fibre tips that shear off under load. A residual softener or silicone finish, which lowers the surface energy of the panel. And a stretch panel, which applies a peeling load every time the garment moves.
| Failure seen | Likely cause | Correction |
|---|---|---|
| Patch lifts at one corner first | Contamination at that edge | Clean the panel, re-apply pressure |
| Adhesive left on fabric, patch clean | Bond to patch weaker than to panel | Change adhesive, prime the patch back |
| Fabric fibres stuck to the adhesive | Raised or brushed surface | Use a sew-on or welded patch |
| Patch lifts during washing | Heat and mechanical action | Add stitched tack or change adhesive grade |
| Patch falls off within a day | Pressure applied for too short a time | Set a dwell time and a press pressure |
The last row matters more than the table suggests. Most adhesive patches are applied by hand under a thumb, and the pressure and dwell time that bonding needs are rarely written anywhere.
The adhesive itself is the third variable and the least often specified. A pressure sensitive film behaves differently from a heat activated one, and the two need different equipment at the point of application. Where a patch is applied on a production line, the adhesive grade should be chosen for the line rather than for the badge.
3. Pin Badge Quality Checks Before Packing
Pin badge quality is decided by four checks that can be run at the packing bench with no instrument. They are worth doing on every carton rather than on the first one, because plating and adhesive both vary between batches.
The first is a visual scan of the relief and the rim under a bench lamp at an angle, which shows dulling that a front-on look hides. The second is a tape test on a sample patch, where a strip of adhesive tape is pressed onto the edge and lifted, and any fibre transfer is recorded. The third is a pin test, closing and opening the clasp 20 times to confirm that the spring has not been over-formed. The fourth is a hardness check on a plated face, where a pencil of known grade will reveal a deposit that has not cured.
Record the four results against the batch number. A recurring note against the same tool or the same adhesive lot turns a quality problem into a scheduling problem, which is easier to solve.
Difei Button runs the four checks on every carton rather than on the first one, because both plating and adhesive vary between batches. The cost is a few minutes per carton and the return is a defect that is found at the bench instead of at a customer.
4. Plating Thickness and Badge Plating Wear
Badge plating wear is largely a thickness question. A decorative deposit of 2 to 3 microns will show a colour change at the high points after normal handling, while 8 to 10 microns of nickel over a suitable strike layer keeps the relief intact for years.
| Deposit | Typical thickness | Service expectation |
|---|---|---|
| Bright decorative nickel | 2 to 3 microns | Some handling, indoor wear |
| Service nickel on brass | 8 to 10 microns | Uniform and daily use |
| Nickel over an acid copper strike | 10 to 15 microns total | Outdoor and abrasive contact |
| Anodised aluminium | 10 to 20 microns oxide | Colour rather than reflectivity |
Thickness also interacts with relief depth. A deep relief has high points that project further, so the local deposit there is thinner than the nominal figure measured on a flat coupon. Where a badge has a deep relief, the thickness should be checked on the part rather than on a test panel.
The strike layer is the part most often left out of a specification. A thin layer of copper or a nickel strike under the main deposit spreads the load onto the base metal and stops a scratch from lifting the whole coating.
5. Badge Adhesive Failure from Surface Energy
Badge adhesive failure is measurable rather than mysterious. Every adhesive has a surface energy it can wet, and every fabric surface has one it presents, and the bond holds when the second is higher than the first.
Three practical consequences follow. A panel with a softener or silicone finish has a low surface energy, so no adhesive choice will rescue the patch. A patch backing with a smooth release face has to be primed or lightly abraded before bonding. And pressure matters as much as chemistry, because an adhesive needs contact area before it can develop strength.
A dwell time of 10 seconds at a pressure of 0.2 MPa is a reasonable starting point for a heat-applied patch, and a trial of 5 pieces that are peeled after 24 hours will confirm whether the settings are right for that panel. That trial is the point at which Difei Button confirms the adhesive grade against the actual panel, rather than against a test fabric.
6. Pin Badge Quality in Wear Testing
Pin badge quality is judged most reliably by a wear test rather than by a bench measure. Three tests cover the applications that most badge programmes fall into, and each run costs a day or less.
A rub test with a soft cloth loaded at a fixed force shows how quickly the relief dulls. A peel test on a bonded patch, run at 180 degrees and recorded in newtons per 25 mm, shows whether the adhesive or the fabric fails first. And a wash test of 10 cycles at the declared temperature shows how the whole assembly behaves when the garment is cleaned.
The useful output is not a pass or a fail but the failure mode. An adhesive that pulls cleanly away from the fabric with no fibre transfer is a poor bond, while one that brings fibre with it is a strong bond on a weak surface, and the two need different answers. Difei Button reports the failure mode rather than a pass mark for this reason, because the mode is what indicates the correction.
7. Storage and Badge Plating Wear
Storage adds to badge plating wear in a way that surprises buyers. Badges packed loose in a bag rub against each other in transit, and the high points of one relief abrade the surface of another.
Three habits reduce it. Pack each badge in a paper sleeve or a compartmented tray rather than bulk. Keep the desiccant in the carton, because humidity accelerates tarnish on a plated brass face. And avoid stacking cartons beyond the weight the base badge can carry, since relief pressed against relief under load marks both.
A 20 kg carton is a normal unit for trim, and one that has been stored flat for months at the bottom of a stack can show marks on the highest points even though the plating is in specification.
Packing also decides how a badge is handled at the garment factory. A badge that arrives in a compartmented tray can be lifted by the tray and placed without being touched, while one that arrives loose in a bag is handled twice as often before it reaches the garment.
8. Writing Pin Badge Quality Requirements into the Order
Most badge claims trace back to an order that described the appearance and left the performance open. A line drawing and a colour chip will not say what happens after 500 handling cycles.
A workable specification names six things: the substrate, the plating type and thickness, the attachment method with its pressure and dwell time if it is bonded, the fabric the patch was tested on, the wash cycle, and the failure mode that is acceptable. Add the two retained samples from the approval run, one badge and one bonded patch on the actual panel.
Difei Button (Guangzhou) Co Ltd keeps the plating data, adhesive lot and wear test result against each badge part number, so a report of badge plating wear or badge adhesive failure can be matched to the batch and the panel it was approved on rather than to the order date.
9. Frequently Asked Questions
9.1 Where does badge plating wear start?
It starts at the highest point of the relief and at the rim, because those are the surfaces that take contact. A decorative deposit of 2 to 3 microns dulls first and then changes colour as the coating is breached, while a service deposit of 8 to 10 microns lasts for years of daily handling. Wear that appears in a recessed area rather than a high point usually points at a plating fault rather than at use. Adding a copper or nickel strike layer under the main deposit spreads the load and keeps a scratch from lifting the whole coating.
9.2 What causes badge adhesive failure on a garment?
It is often the panel rather than the adhesive. A raised or brushed surface presents fibre tips that shear away under load, and a residual softener or silicone finish lowers the surface energy so that no adhesive wets it properly. A stretch panel adds a peeling load every time the garment moves. Pressure and dwell time matter as much as chemistry, and most hand-applied patches are pressed for far less time than the adhesive needs, so priming the patch backing and setting a press pressure usually solves it.
9.3 How is pin badge quality checked before packing?
Four checks can be run at the bench with no instrument, starting with a look at the relief and the rim under a lamp at an angle, which reveals dulling that a front-on view hides. Run a tape test on a sample patch to see whether fibre transfers. Close and open the clasp 20 times to confirm the spring is not over-formed, and check the cured hardness of the plated face with a graded pencil. Recording the four results against the batch turns a repeated defect into a scheduling problem on a known tool.
9.4 Which wear tests are worth running on a badge?
Three tests cover most programmes, the first being a rub test with a soft cloth at a fixed load that shows how quickly the relief dulls. A 180 degree peel test on a bonded patch, recorded in newtons per 25 mm, shows whether the adhesive or the fabric fails first. A wash test of 10 cycles at the declared temperature shows how the whole assembly behaves in cleaning. The useful output is the failure mode rather than a pass mark, because an adhesive that peels cleanly from the fabric and one that brings fibre with it need opposite corrections.
Recently Posted
-
Batch Consistency at Difei Button: Why Buyers Reorder
October 15, 2026A buyer rarely changes supplier because of price. The usual reason is a second order that does not match the first, and by the tim Read More
 -
Injection Molding Parameters for Plastic Snap Buttons
October 15, 2026An injection molding snap button is not a difficult part to make. It is a small part with a thin spring section, and that spring s Read More
 -
Eyelet Rust and Washer Loss in Wet-Wash Garments
October 15, 2026Two faults arrive together on wet-wash programmes, and they are usually reported as one. Eyelet rusting shows as a brown bloom aro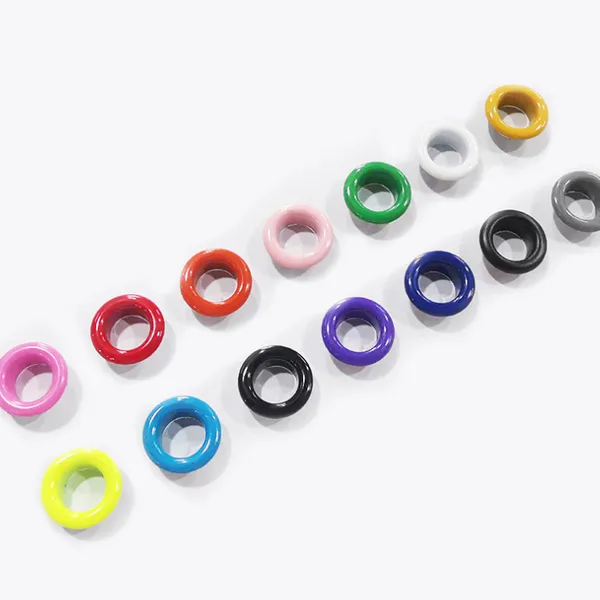 Read More
 -
Snap Buttons for Maternity and Nursing Wear: Comfort and Access
October 15, 2026A plastic snap button for nursing wear carries a set of demands that no ordinary closure is asked to meet. It has to open with one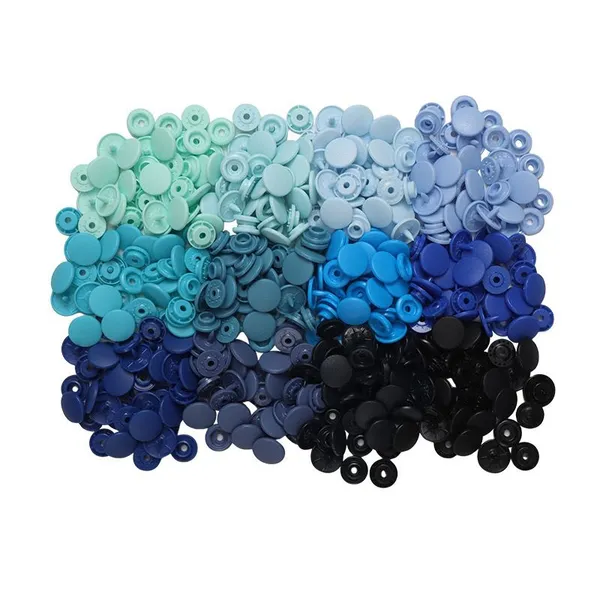 Read More

Contact Us
Recommended Products
-
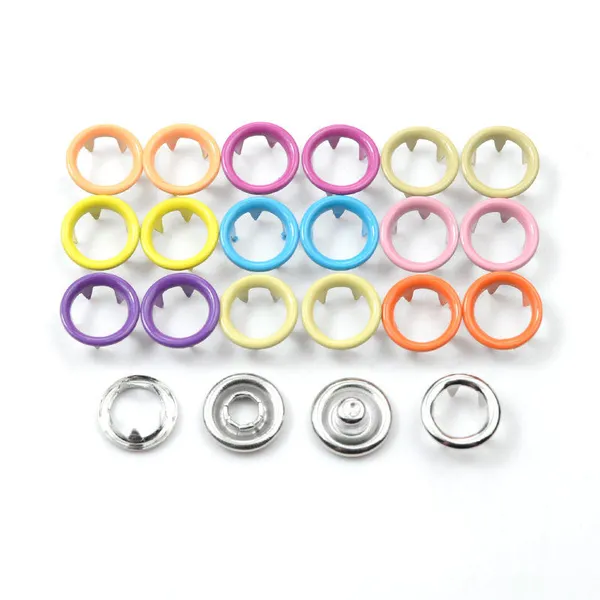
 Clothing Accessories Lead Free Brass Metal Ring Prong Snap Button With 4 Parts for Infant Baby Clothes Baby BibsUS$ 0.01 - 0.03MOQ: 5000 Sets
 -
Brass Metal Stainless Steel Material Ring Prong Snap Button With 4 Parts Lead Free & Nickel Free for Infant Baby Clothes Baby Bibs Baby SuitsUS$ 0.01 - 0.03MOQ: 5000 Sets
-
Metal Grommets Eyelets Gold Eyelet for Bag Shoes and Garment AccessoriesUS$ 0.01 - 0.03MOQ: 5000 Sets
-
Cheap Price Custom Jeans Button Metal Custom Logo Metal Button for JeansUS$ 0.01 - 0.03MOQ: 5000 Sets
-
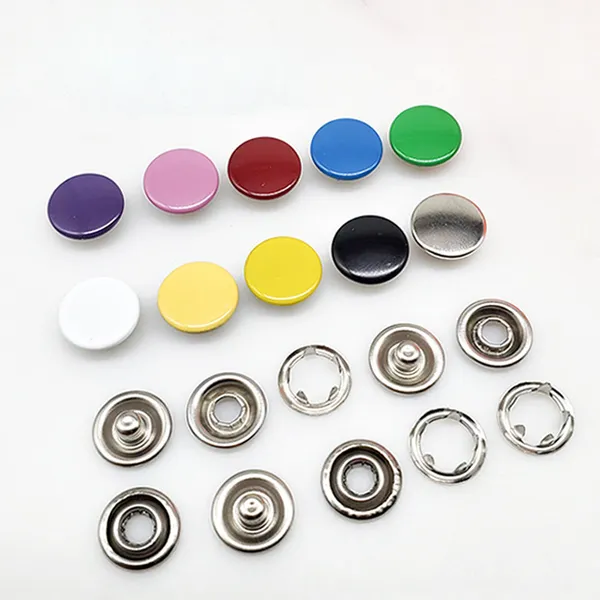
Factory Wholesale Hat Bag Clothing Press Snap Button Spring Snap Button Metal Snap ButtonsUS$ 0.03 - 0.06MOQ: 5000 Sets
-
Wholesale Plastic Round Coloured Snaps Button Press Fasteners for Baby Bibs/ Baby GarmentsUS$ 0.01 - 0.03MOQ: 50000 Sets
-
Custom EngravedCopper I Brass Metal Jeans Button Denim Clothes Jacket for Jeans DenimUS$ 0.01 - 0.03MOQ: 5000 Sets
-
17mm Open Hole Shank Button With Aluminum Nail With Logo for Jeans Jacket PantsUS$ 0.01 - 0.03MOQ: 5000 Sets
-
Eco-friendly Custom Size Plastic Snaps Plastic Snap Button for Baby Clothes, Baby BibsUS$ 0.01 - 0.03MOQ: 50000 Sets
-
12mm 15mm 17mm 20mm Four Parts Metal Brass Fastener Press Snap Button for Clothes JacketUS$ 0.03 - 0.06MOQ: 5000 Sets
-
Custom Logo Personalized High Quality Metal Press Snap Fastener Snap Buttons for Clothing Garments JacketUS$ 0.03 - 0.06MOQ: 5000 Sets
-
Custom Printing Round Press Spring Four Part Snap Button for Clothing Leather 405#17mmUS$ 0.03 - 0.06MOQ: 5000 Sets
-
OEM Garment Accessories Custom Baby Snap Button Press Metal Prong Pearl Ring Snap ButtonUS$ 0.01 - 0.03MOQ: 5000 Sets
-
Factory Stock Buttons Stainless Steel or Brass Material Colors Pearl Snap Button Prong Pearl Snap Button for Shirts ClothingUS$ 0.01 - 0.03MOQ: 5000 Sets
-
Apparel Hardware 222# Cap Prong Ring Snap Fastener 10mm for Coat FasteningNegotiableMOQ: 50000 Pieces
-
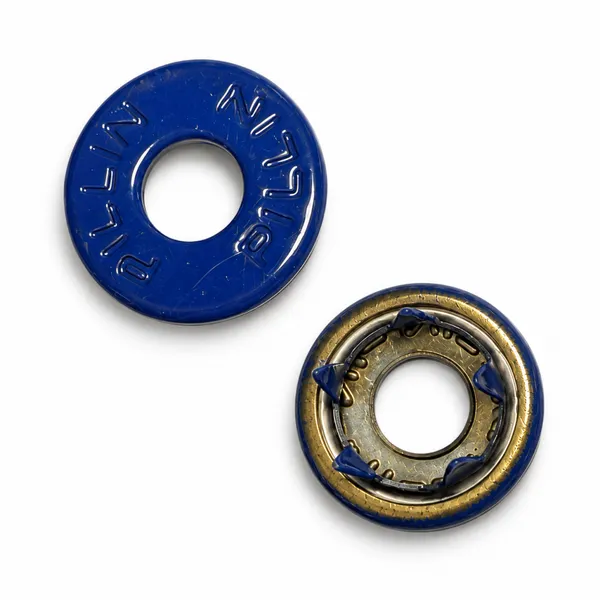
Open Hole Prong Ring Snap Button 222# 10mm for Leather Sewing ProjectsNegotiableMOQ: 50000 Pieces
-
Zinc Alloy 222# 10mm Open Hole Prong Ring Snap Button Wholesale for Clothing Factory UseNegotiableMOQ: 50000 Pieces
-
222# 10mm Open Hole Prong Ring Snap Fastener for Clothing Sewing and LeatherNegotiableMOQ: 50000 Pieces
-
Antique Bronze 222# 10mm Open Hole Cap Prong Ring Snap Buttons for Denim and Canvas GarmentsNegotiableMOQ: 50000 Pieces
-
New Style 222# 10mm Snap Buttons Cap Type for Bag DecorationNegotiableMOQ: 50000 Pieces