
 Business License
Blog Categories
Sew-On, Snap and Rivet Attachment: How Fixing Method Shapes Construction
The choice among button attachment types is often made after the design is signed off, and that is where most construction problems begin. A fastener is not a decoration added at the last stage of assembly; it decides where the fabric may be pierced, how much load a panel can carry, and whether a seam allowance has to be widened.
This article sets out how the three fixing families differ. It compares the sew on vs snap fastener decision in terms of load path and fabric behaviour, explains what the rivet fixing method does to a panel that has no seam, and shows how the choice changes sampling, testing and repair on a live programme.
1. What Button Attachment Types Decide Before the First Stitch
Three decisions are settled as soon as a fixing family is chosen. The first is whether the fabric needs a hole, because a pierced panel behaves differently from a sewn one under tension. The second is whether the fastener can be removed without leaving a trace, which matters whenever a garment might be reworked. The third is how many operations the factory has to add to the line.
Those consequences spread well beyond the fastener. A sew-on button needs a thread colour, a stitch density and a spare button in the bag, while a snap needs a press and an anvil and a rivet needs a punch and a setting die. Each item also appears on the bill of materials and in the line layout. Costing the three button attachment types at the same unit price therefore tells a buyer very little about which one is cheaper to run.
| Fixing family | Fabric pierced | Removable | Line operations |
|---|---|---|---|
| Sew-on | No | Yes, by undoing the stitch | 1, hand or machine |
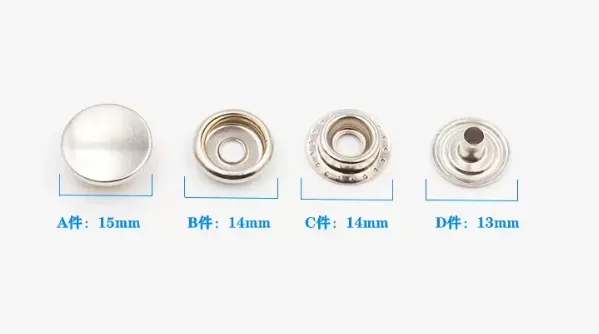
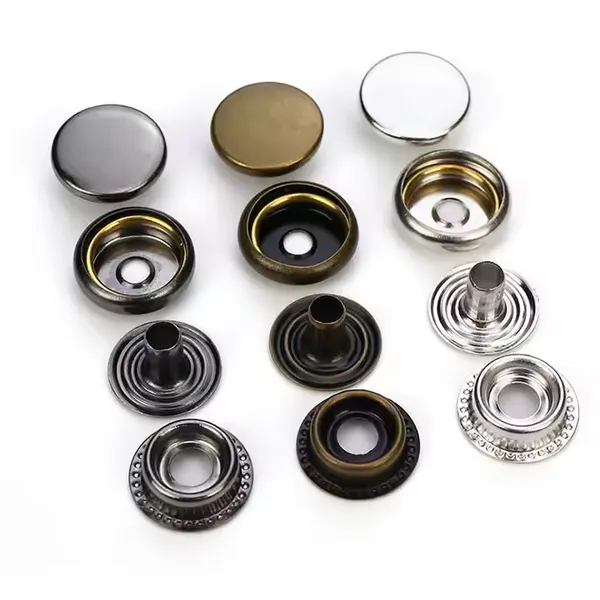
| Snap fastener | Yes, 2 to 4 small holes | By replacing the part | 2, press and set |
| Rivet | Yes, 1 hole | No, the part is destroyed | 1, punch and set |
2. Sew On vs Snap Fastener: Load Path and Fabric Choice
The sew on vs snap fastener question is really a question about where the load travels. A sewn button spreads the pull across four or six thread passes and a circle of fabric around them, so the stress is shared. A snap concentrates the same pull on two or four pierced points, and each point becomes a stress riser in a light fabric.
That difference sets the fabric match. Wovens with a firm hand and a tight sett tolerate a snap well, because the yarns resist tearing between the holes. Fine knits, chiffons and coated shells do not, and a sew-on button or a shank button is usually the safer answer there. On a 60 gsm knit the sew on vs snap fastener decision should fall to the sewn option unless the panel is interlined.
A European workwear brand met this on a poly cotton shirt programme. The first sample used a metal snap on a 120 gsm poplin placket, and the holes elongated after ten industrial washes. Replacing the snap with a 4-hole sew-on button of the same diameter removed the tearing, and the pattern change was limited to a 3 mm widening of the placket allowance. The brand kept the snap on the cuff, where the fabric is doubled, and moved to the sewn button on the front.
| Panel | Weight guide | Fixing family that holds |
|---|---|---|
| Poplin, twill, canvas | 110 gsm and up | Snap or sew-on |
| Fine knit, jersey | Under 160 gsm | Sew-on or shank |
| Coated shell | Any weight | Sew-on with a backing patch |
| Leather and suede | 0.8 mm and up | Rivet or snap |
3. The Rivet Fixing Method and Where It Applies
The rivet fixing method joins two layers permanently by deforming a shank over a burr or a washer. It is chosen when a joint must not open, when a seam would add bulk, or when the fastening point sits in the middle of a panel rather than along an edge. Pocket corners on jeans, strap anchors on bags and belt loops are the classic places for it.
The method has one property that cannot be negotiated, which is that removal destroys the part. A rivet that has to come out leaves a hole, and the hole does not close. That is a technical fact with a commercial consequence, because it means the rivet fixing method should not be used as a placeholder on a style that is still under review. Difei Button flags that risk at the sample stage, before the pattern is cut.
A bag maker testing strap anchors found the same thing from a different direction. A 10 mm cap rivet set through a 2.5 mm bonded leather strap held a 12 kg static load without movement, but the same rivet on a 1.2 mm split leather panel pulled through at 6 kg. The panel thickness, not the rivet size, set the limit.
4. Comparing Button Attachment Types on Knit and Woven Panels
Knit and woven panels fail in different ways, so the ranking of button attachment types changes with the substrate. A woven tears along a thread line once a hole starts to grow, which is a slow and visible failure. A knit unravels from the hole outward, which is fast and often appears as a run rather than a tear.
Both failure modes point to the same rule: the number of pierced points should fall as the fabric gets lighter. A 4-part snap pierces the fabric twice, at the socket and at the stud, and a rivet pierces it once. A sew-on button pierces nothing. A trim specification for lighter substrates therefore tends to work down from snap to rivet to sewn as the weight drops.
5. Structural Effects of the Rivet Fixing Method
The rivet fixing method changes how a panel is reinforced, and the reinforcement has to be designed before the sample is made. A rivet transfers load into a very small area, so the layers beneath it must either be doubled or be thick enough to resist the compression of the setting die. Adding a 0.6 mm reinforcement patch under a rivet is a common and cheap answer.
The setting force also leaves a mark. A rivet set with too much pressure leaves a shallow depression on the face side, and one set with too little leaves the shank loose and the cap able to rotate. On leather the practical band is narrow, and a setting die matched to the cap diameter removes most of the variation.
| Substrate | Rivet size | Reinforcement | Setting force |
|---|---|---|---|
| Denim, 12 oz | 9 mm cap | None needed | Standard press |
| Bonded leather, 2.5 mm | 10 mm cap | None needed | Standard press |
| Split leather, 1.2 mm | 8 mm cap | 0.6 mm patch | Reduced, timed |
| Coated canvas | 8 mm cap | Backing patch | Reduced, timed |
6. Sew On vs Snap Fastener in Repair and Rework
The sew on vs snap fastener difference shows up most clearly on the repair bench. A sewn button can be replaced with a needle and 30 cm of thread, and the panel is left as it was found. A snap has to be pressed out and a new one pressed in, which needs the right die and usually needs the garment to be sent back rather than repaired on site.
Rework cost follows the same line. A misplaced snap can be moved once, and the first hole is then hidden under the new cap; a second mistake leaves a visible pair of holes on the placket. A misplaced sew-on button leaves four small holes that a thread of the matching shade can close. Where a style has a high sampling churn, that difference in reversibility is worth more than a small unit price gap.
Difei Button keeps a repair note against each fixing specification for this reason. When a buyer asks why a position was specified with a sew-on button rather than a snap, Difei can point to the wash test that produced the decision, and the same note tells the next buyer what to expect at that position.
7. Mixing Button Attachment Types on One Garment
Most garments use more than one family, and the mix is deliberate. A denim trucker jacket may carry a rivet at each pocket corner, a snap on the front placket and a sew-on button at the waistband, because each position has a different load and a different visual role. Treating button attachment types as a single global choice is what produces a weak point at one position.
The practical rule is to choose per position rather than per style. The question at each point is whether the joint must stay closed, whether the panel can be pierced, and whether the part must be replaceable. Answering those three questions at each position produces a specification that reads like a small table rather than a single line.
| Position | Load | Fixing family |
|---|---|---|
| Jeans pocket corner | High, repeated | Rivet |
| Front placket | Low, repeated | Snap or sew-on |
| Waistband button | Medium, single | Sew-on shank |
| Bag strap anchor | Very high | Rivet with backing |
| Cuff closure | Low, repeated | Snap |
8. Proving a Rivet Fixing Method Before Bulk Production
Any new fixing has to be proved on the actual fabric before the bulk order is released. The test is simple: build 5 to 10 sample pieces on the production panel, apply the expected working load, and repeat the pull 20 times. A rivet that survives a single pull but loosens after ten is a rivet that will fail on the customer's side.
The same routine applies to a snap and to a sewn button. A snap is checked with a pull-off gauge and the result is recorded against the part number, and a sew-on button is checked for thread pull-through at the stitch density that will run in bulk. Difei Button (Guangzhou) Co Ltd runs first-piece approval on new fixings for this reason, and the approved piece is retained as the reference for the batch. A proven rivet fixing method is one that has been tested on the production substrate, not one that performed well on a bench sample of a different leather.
9. Frequently Asked Questions
9.1 How do I decide between the button attachment types for a new style?
Work through three questions at each fastening position. Ask whether the joint has to stay closed under load, whether the panel can be pierced without weakening it, and whether the part has to be replaceable later. A position that must stay closed and can take a hole points to a rivet, a position that opens often points to a snap, and a light or expensive panel points to a sew-on button. Deciding per position rather than per style is what keeps the specification honest, and it usually produces a mix of two or three families on one garment.
9.2 When does a sew on vs snap fastener choice change the pattern?
A snap needs a seam allowance wide enough to carry the pressed holes without the fabric fraying, so a placket that was drafted for a sewn button may need 2 to 4 mm more allowance. It also needs the interlining to stop short of the hole line, or the holes will not close cleanly around the part. A sew-on button needs a plain area of at least the button diameter plus 3 mm. Setting those figures at pattern stage avoids a second sample round, which is where the real cost of switching a fixing sits.
9.3 Where does the rivet fixing method stop being suitable?
It stops being suitable wherever the layers are too thin to resist the setting force or the load. Below roughly 1.5 mm of finished thickness, a standard cap rivet tends to pull through rather than hold, and the answer is either a backing patch or a different fixing. It is also unsuitable wherever the part may need to be removed, because taking a rivet out leaves a permanent hole. On a style that is still under revision, that alone should rule the rivet out until the design is frozen.
9.4 Can three attachment types be certified to the same safety standard?
Yes, and each is tested on its own terms. A snap and a rivet are checked for sharp points, small parts and pull-off force, while a sew-on button is checked for attachment strength at the stitch density used in production. Childrenswear adds a torque and tension test for every attached part regardless of family. The test report therefore lists the fixing family beside each part number, which is why a specification that mixes the three should state the family position by position rather than describing the garment as a whole.
Recently Posted
-
Batch Consistency at Difei Button: Why Buyers Reorder
October 15, 2026A buyer rarely changes supplier because of price. The usual reason is a second order that does not match the first, and by the tim Read More
 -
Injection Molding Parameters for Plastic Snap Buttons
October 15, 2026An injection molding snap button is not a difficult part to make. It is a small part with a thin spring section, and that spring s Read More
 -
Eyelet Rust and Washer Loss in Wet-Wash Garments
October 15, 2026Two faults arrive together on wet-wash programmes, and they are usually reported as one. Eyelet rusting shows as a brown bloom aro Read More
 -
Badge Plating Wear and Adhesive Failure: Quality Checks
October 15, 2026Two faults decide whether a badge programme survives its first year. Badge plating wear appears at the high points of the relief, Read More

Contact Us
Recommended Products
-
 Clothing Accessories Lead Free Brass Metal Ring Prong Snap Button With 4 Parts for Infant Baby Clothes Baby BibsUS$ 0.01 - 0.03MOQ: 5000 Sets
 -
Brass Metal Stainless Steel Material Ring Prong Snap Button With 4 Parts Lead Free & Nickel Free for Infant Baby Clothes Baby Bibs Baby SuitsUS$ 0.01 - 0.03MOQ: 5000 Sets
-
Metal Grommets Eyelets Gold Eyelet for Bag Shoes and Garment AccessoriesUS$ 0.01 - 0.03MOQ: 5000 Sets
-
Cheap Price Custom Jeans Button Metal Custom Logo Metal Button for JeansUS$ 0.01 - 0.03MOQ: 5000 Sets
-
Factory Wholesale Hat Bag Clothing Press Snap Button Spring Snap Button Metal Snap ButtonsUS$ 0.03 - 0.06MOQ: 5000 Sets
-
Wholesale Plastic Round Coloured Snaps Button Press Fasteners for Baby Bibs/ Baby GarmentsUS$ 0.01 - 0.03MOQ: 50000 Sets
-
Custom EngravedCopper I Brass Metal Jeans Button Denim Clothes Jacket for Jeans DenimUS$ 0.01 - 0.03MOQ: 5000 Sets
-
17mm Open Hole Shank Button With Aluminum Nail With Logo for Jeans Jacket PantsUS$ 0.01 - 0.03MOQ: 5000 Sets
-
Eco-friendly Custom Size Plastic Snaps Plastic Snap Button for Baby Clothes, Baby BibsUS$ 0.01 - 0.03MOQ: 50000 Sets
-
12mm 15mm 17mm 20mm Four Parts Metal Brass Fastener Press Snap Button for Clothes JacketUS$ 0.03 - 0.06MOQ: 5000 Sets
-
Custom Logo Personalized High Quality Metal Press Snap Fastener Snap Buttons for Clothing Garments JacketUS$ 0.03 - 0.06MOQ: 5000 Sets
-
Custom Printing Round Press Spring Four Part Snap Button for Clothing Leather 405#17mmUS$ 0.03 - 0.06MOQ: 5000 Sets
-
OEM Garment Accessories Custom Baby Snap Button Press Metal Prong Pearl Ring Snap ButtonUS$ 0.01 - 0.03MOQ: 5000 Sets
-
Factory Stock Buttons Stainless Steel or Brass Material Colors Pearl Snap Button Prong Pearl Snap Button for Shirts ClothingUS$ 0.01 - 0.03MOQ: 5000 Sets
-
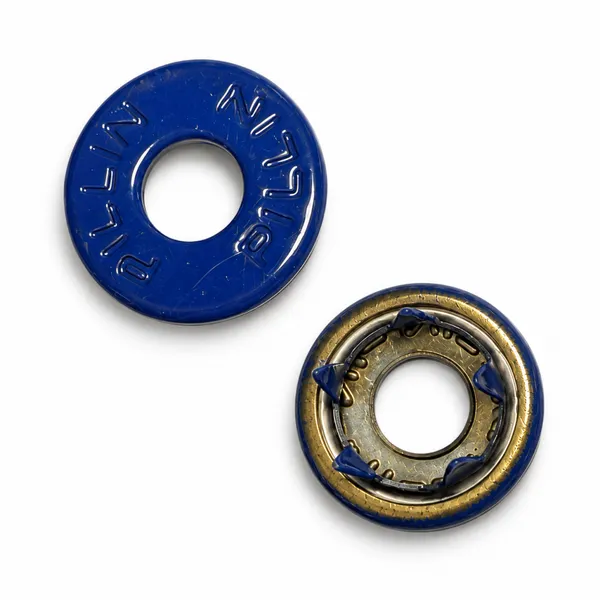
Apparel Hardware 222# Cap Prong Ring Snap Fastener 10mm for Coat FasteningNegotiableMOQ: 50000 Pieces
-
Open Hole Prong Ring Snap Button 222# 10mm for Leather Sewing ProjectsNegotiableMOQ: 50000 Pieces
-
Zinc Alloy 222# 10mm Open Hole Prong Ring Snap Button Wholesale for Clothing Factory UseNegotiableMOQ: 50000 Pieces
-
222# 10mm Open Hole Prong Ring Snap Fastener for Clothing Sewing and LeatherNegotiableMOQ: 50000 Pieces
-
Antique Bronze 222# 10mm Open Hole Cap Prong Ring Snap Buttons for Denim and Canvas GarmentsNegotiableMOQ: 50000 Pieces
-
New Style 222# 10mm Snap Buttons Cap Type for Bag DecorationNegotiableMOQ: 50000 Pieces