
 Business License
Blog Categories
Loose Jeans Buttons: Causes and Prevention in Production
A loose jeans button is almost never a bad part. It is a part that was set into the wrong fabric condition, with the wrong force, or with a spike that had already been used once. The button and the fabric together form the joint, and a joint that was made correctly on the sample bench can still fail on a line running thousands of pieces a shift.
This article traces the three routes to failure that matter in production, explains what jeans button pull through looks like when it reaches a customer, and sets out the checks that keep a tack button failure out of a shipment.
1. Why a Loose Jeans Button Appears in Production
The three failure routes are distinct and they are diagnosed differently. In the first, the spike is not fully curled behind the fabric and the button works free under load. In the second, the spike cuts through the denim and the button leaves with the fabric still attached. In the third, the spike has cracked or bent and the joint loses tension without any visible fabric damage.
Each route points at a different station. An incompletely curled spike points at the press setting. A torn hole points at fabric condition or spike geometry. A cracked spike points at the metal, the plating or a worn tool.
A loose jeans button that appears in a final inspection is therefore the end of a chain rather than a single event. The useful question is which station the chain started at, and that question can be answered from the failed part itself in most cases.
Difei Button records the setting parameters against each jeans button run for this reason, so that a failure reported months later can be compared against the data of the shipment it came from.
2. Jeans Button Pull Through and the Fabric Side
Jeans button pull through is a fabric failure as much as a hardware failure. The spike pushes the yarns apart as it passes, and if the fabric has already been damaged at that point, the hole opens and the button comes away with a washer shaped tear.
Denim is vulnerable in three states. Where the fabric has been sanded or abraded at the placket, the yarn at the surface is thinner than the yarn in the middle. Where the fabric has been over-dyed and dried hard, it tears rather than deforming. And where the placket is a lighter weight than the body, the panel there carries less material for the spike to grip.
The warning sign is visible before the button is set. A placket that has been sanded hard enough to raise fibres at the setting point will show a pale patch where the yarn has been cut, and a setting station that checks for that patch catches the problem before the part is loaded.
Where a style uses a heavier spike to reduce jeans button pull through, the answer is usually a different gauge rather than a longer spike. A spike that is 0.2 mm thicker lifts the pull force more than one that is 0.5 mm longer, and it does not deepen the damage to the yarn.
3. Tack Button Failure at the Setting Station
A tack button failure is decided in a fraction of a second. The press ram descends, the spike pierces the panel, the die curls the spike into the cap, and the whole joint is formed in one stroke. If any element is out of position in that stroke, the joint is made wrong and no later inspection can undo it.
Three settings dominate. The ram force, which has to be high enough to curl the spike fully and low enough not to crush the cap. The die height, which has to match the panel thickness. And the alignment between the upper punch and the lower die, which has to be concentric within a fraction of a millimetre.
| Failure seen at inspection | Station to check | Typical correction |
|---|---|---|
| Button turns freely under finger pressure | Ram force and die height | Raise force by one step |
| Cap face marked or dished | Upper punch | Reduce force or change punch |
| Spike cracked at the curl | Metal batch or plating | Check hardness and ductility |
| Tear in the denim around the hole | Fabric condition | Reject the sanded placket |
| Button off centre on the placket | Fixture and alignment | Reset the locating stop |
Force is the setting most often left too low, because a lower force reduces cap marking and dies last longer. The symptom is a joint that passes a pull test on the day and loosens after a few wears, which is the hardest kind of tack button failure to trace back to its source.
A simple check catches it. Turn the set button by hand under firm thumb pressure; if the whole assembly rotates against the fabric, the spike is not fully curled and the force has to rise.
4. Loose Jeans Button Causes in Wear and Laundering
A closure can also loosen after it has left the factory, and the causes there are different from the causes at the press. A loose jeans button that appears after several washes usually points at the fabric rather than the hardware.
Denim relaxes in the wash and then shrinks back at the placket, which applies a cyclic load to the joint. At the same time, the sanded or distressed area around the setting point loses more surface yarn with each cycle, so the material gripping the spike gets thinner.
Three habits reduce the risk. Set the closure after the garment has been washed once where the process allows, so that the fabric has taken its final dimensions. Keep the setting point away from the heaviest distressing by 10 to 15 mm. And avoid setting a jeans button directly over a thick seam, where the spike has to pass through four layers of varying density.
None of those habits removes the load, and that is not the aim. They keep the material that grips the spike intact for long enough that the button fails at the same time as the garment rather than earlier.
5. Tack Button Failure from Burr, Flash and Coating
The invisible cause of tack button failure is contamination on the contact surfaces. The joint holds by interference between the curled spike and the inside of the cap, and anything that sits between those two surfaces reduces the interference.
Three contaminants turn up regularly. Plating burr inside the cap, left where the plating rack contacted the part. Moulding or stamping flash on the spike shoulder. And oil or release agent carried over from the forming process, which lets the two surfaces slide instead of gripping.
All three are invisible in a box of parts and visible under a bench magnifier. A 10 second look at three parts from each carton, checking the inside of the cap and the shoulder of the spike, catches the batch before it reaches the press.
Where a supplier plates and sets in the same plant, the check can be done at the plating line rather than at the garment factory, which is the cheaper place to catch it. Difei Button inspects the cap interior and spike shoulder before packing so that a contamination problem is caught at the source.
6. Jeans Button Pull Through on Heavy Denim
Heavy denim changes the arithmetic of jeans button pull through because the fabric resists the spike and the button both. A 14 oz panel needs more force to set, which raises the risk of cap marking, and it grips the spike harder, which raises the risk of a cracked spike at the curl.
The panel thickness has to be measured rather than assumed. Two nominally identical denims can differ by 0.4 mm at the placket once the seam and the fold are included, and that difference is enough to move the correct die height by one step.
Three practical rules apply on heavy fabric. Measure the finished panel rather than the flat fabric. Set a trial of 10 pieces at the start of each roll, because denim varies between rolls from the same mill. And check the curl on a cut-open sample at the start of the run, since a cracked spike cannot be seen from the front of the garment.
The cut-open sample is the least expensive insurance in the whole process. It costs one button and one minute, and it shows exactly how the spike has curled behind the panel.
7. Preventing a Loose Jeans Button Before Cutting
Most prevention happens before the first button is set, in the specification and the fabric approval. A closure that is right for a 12 oz denim may be wrong for a 14 oz one, and the difference is not visible in a photograph.
A workable specification names four things: the part number of the closure, the panel thickness it was approved against, the setting force and die height, and the pull force the joint must reach. Add a photograph of a correctly curled spike from the approval sample, because that image settles more disputes than any figure.
On the fabric side, the placket weight and any distressing pattern should be stated in the trim approval, so that a later change of wash does not quietly move the setting point into a weakened area. Where a wash change is unavoidable, the closure should be re-tested on the new fabric rather than assumed to carry over.
Keeping 10 set samples from the approval run in a labelled bag turns a claim about a loose jeans button into a comparison between two physical objects, which is the quickest kind of investigation a factory can run. Difei Button keeps those same samples alongside the setting parameters so that the two objects can be compared on the day a claim is raised.
8. Recording Tack Button Failure for the Next Order
The value of a failure record is that it changes the next order rather than explaining the last one. A note that a tack button failure happened is of little use; a note that it happened on a sanded placket at 0.75 mm below the fold is actionable.
Four entries make a record useful: the station where the failure was seen, the fabric condition at that point, the setting parameters in use, and the part number and batch of the closure. With those four, a recurrence can be recognised in minutes instead of being investigated from scratch.
The record also protects the supplier, because a failure caused by a fabric change should not be answered with a new tool. Separating the cause from the assumption is what keeps a good part from being replaced with a different one that fails in the same place.
Difei Button (Guangzhou) Co Ltd keeps the setting data, the approved sample and the batch record against each jeans button part number, so a reported tack button failure can be matched to the shipment it came from rather than to the order that was placed.
9. Frequently Asked Questions
9.1 What causes a loose jeans button in production?
There are three distinct routes and they are diagnosed differently. The spike may not be fully curled behind the fabric, which points at ram force or die height, or it may have cut through the denim, which points at fabric condition or the gauge of the spike. Or the spike may have cracked, which points at the metal batch or a worn tool. A button that turns under thumb pressure is the first route and is corrected by raising the force one step.
9.2 How is a tack button failure detected on the line?
Three checks catch most of them without any instrument. Turn each set button by hand under firm thumb pressure, which reveals an incompletely curled spike, then look at the cap face for marking or dishing, which shows that the force is too high. Cut one piece open at the start of each roll to see how the spike has curled. Those three checks take a few seconds per piece and catch both the force problems and the cracked spikes before a carton is closed.
9.3 Why does jeans button pull through happen on some fabrics?
Pull through is a fabric failure rather than a hardware fault. The spike pushes the yarns apart as it passes, so any weakness at that point lets the hole open. Denim is most vulnerable where it has been sanded, where it has been over dyed and dried hard, and where the placket is a lighter weight than the body. Keeping the setting point 10 to 15 mm away from the heaviest distressing is the simplest protection, and checking the placket weight before the first button is set costs nothing at all.
9.4 Can a looser force setting reduce cap marking?
Lowering the force does reduce cap marking and it does make the dies last longer, which is why the setting is often left too low. The cost is a joint that passes a pull test on the day and loosens after a few wears, and that is the hardest failure to trace back to its source. The better route is to hold the force where it is and change the punch or add a protective film, so that the curl is completed while the cap face stays clean.
Recently Posted
-
Batch Consistency at Difei Button: Why Buyers Reorder
October 15, 2026A buyer rarely changes supplier because of price. The usual reason is a second order that does not match the first, and by the tim Read More
 -
Injection Molding Parameters for Plastic Snap Buttons
October 15, 2026An injection molding snap button is not a difficult part to make. It is a small part with a thin spring section, and that spring s Read More
 -
Eyelet Rust and Washer Loss in Wet-Wash Garments
October 15, 2026Two faults arrive together on wet-wash programmes, and they are usually reported as one. Eyelet rusting shows as a brown bloom aro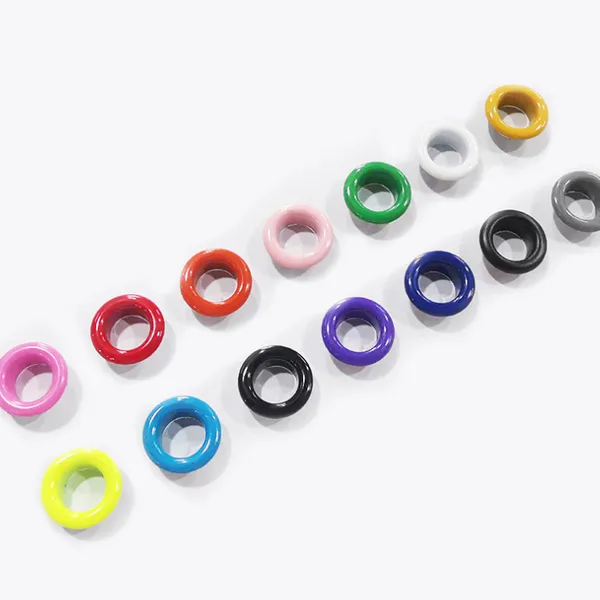 Read More
 -
Badge Plating Wear and Adhesive Failure: Quality Checks
October 15, 2026Two faults decide whether a badge programme survives its first year. Badge plating wear appears at the high points of the relief,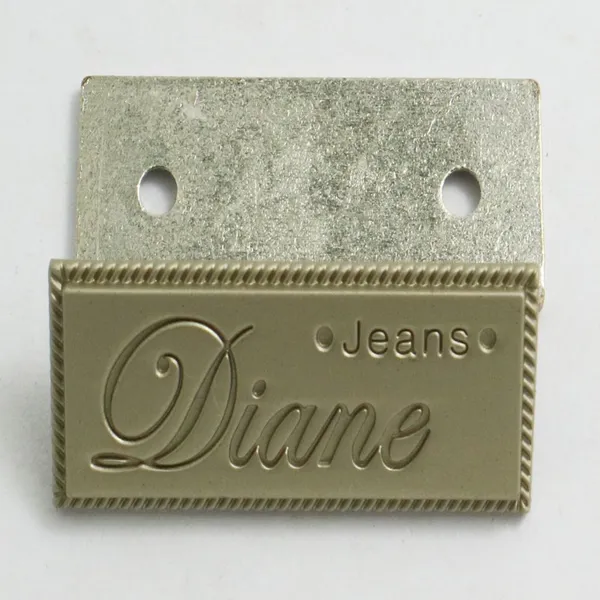 Read More

Contact Us
Recommended Products
-
 Clothing Accessories Lead Free Brass Metal Ring Prong Snap Button With 4 Parts for Infant Baby Clothes Baby BibsUS$ 0.01 - 0.03MOQ: 5000 Sets
 -
Brass Metal Stainless Steel Material Ring Prong Snap Button With 4 Parts Lead Free & Nickel Free for Infant Baby Clothes Baby Bibs Baby SuitsUS$ 0.01 - 0.03MOQ: 5000 Sets
-
Metal Grommets Eyelets Gold Eyelet for Bag Shoes and Garment AccessoriesUS$ 0.01 - 0.03MOQ: 5000 Sets
-
Cheap Price Custom Jeans Button Metal Custom Logo Metal Button for JeansUS$ 0.01 - 0.03MOQ: 5000 Sets
-
Factory Wholesale Hat Bag Clothing Press Snap Button Spring Snap Button Metal Snap ButtonsUS$ 0.03 - 0.06MOQ: 5000 Sets
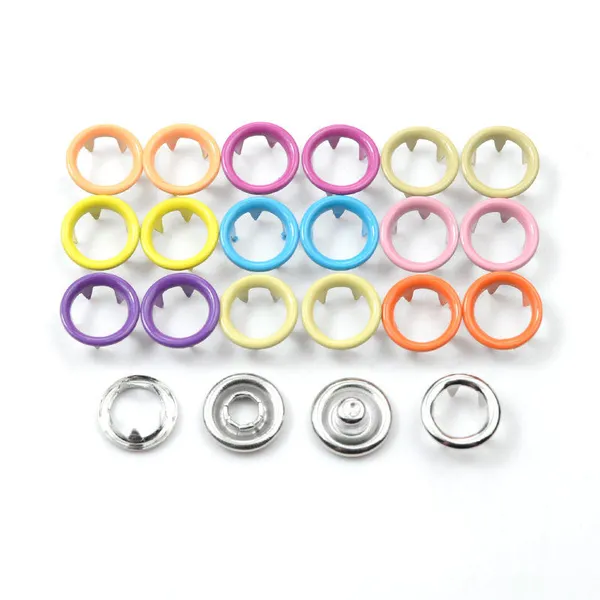
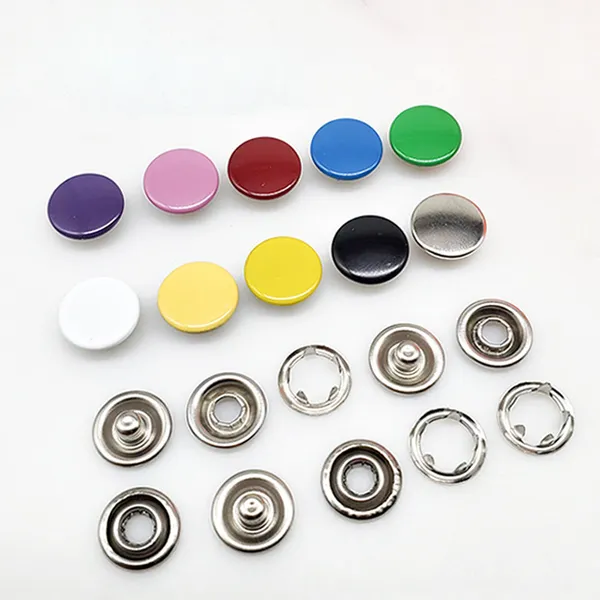
-
Wholesale Plastic Round Coloured Snaps Button Press Fasteners for Baby Bibs/ Baby GarmentsUS$ 0.01 - 0.03MOQ: 50000 Sets
-
Custom EngravedCopper I Brass Metal Jeans Button Denim Clothes Jacket for Jeans DenimUS$ 0.01 - 0.03MOQ: 5000 Sets
-
17mm Open Hole Shank Button With Aluminum Nail With Logo for Jeans Jacket PantsUS$ 0.01 - 0.03MOQ: 5000 Sets
-
Eco-friendly Custom Size Plastic Snaps Plastic Snap Button for Baby Clothes, Baby BibsUS$ 0.01 - 0.03MOQ: 50000 Sets
-
12mm 15mm 17mm 20mm Four Parts Metal Brass Fastener Press Snap Button for Clothes JacketUS$ 0.03 - 0.06MOQ: 5000 Sets
-
Custom Logo Personalized High Quality Metal Press Snap Fastener Snap Buttons for Clothing Garments JacketUS$ 0.03 - 0.06MOQ: 5000 Sets
-
Custom Printing Round Press Spring Four Part Snap Button for Clothing Leather 405#17mmUS$ 0.03 - 0.06MOQ: 5000 Sets
-
OEM Garment Accessories Custom Baby Snap Button Press Metal Prong Pearl Ring Snap ButtonUS$ 0.01 - 0.03MOQ: 5000 Sets
-
Factory Stock Buttons Stainless Steel or Brass Material Colors Pearl Snap Button Prong Pearl Snap Button for Shirts ClothingUS$ 0.01 - 0.03MOQ: 5000 Sets
-
Apparel Hardware 222# Cap Prong Ring Snap Fastener 10mm for Coat FasteningNegotiableMOQ: 50000 Pieces
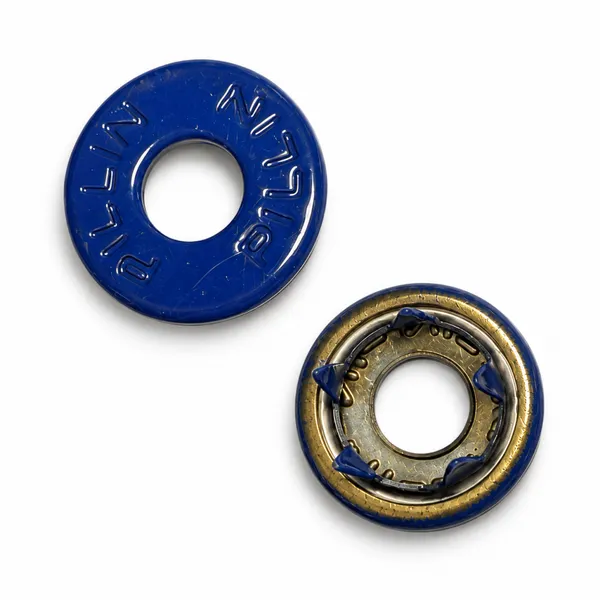
-
Open Hole Prong Ring Snap Button 222# 10mm for Leather Sewing ProjectsNegotiableMOQ: 50000 Pieces
-
Zinc Alloy 222# 10mm Open Hole Prong Ring Snap Button Wholesale for Clothing Factory UseNegotiableMOQ: 50000 Pieces
-
222# 10mm Open Hole Prong Ring Snap Fastener for Clothing Sewing and LeatherNegotiableMOQ: 50000 Pieces
-
Antique Bronze 222# 10mm Open Hole Cap Prong Ring Snap Buttons for Denim and Canvas GarmentsNegotiableMOQ: 50000 Pieces
-
New Style 222# 10mm Snap Buttons Cap Type for Bag DecorationNegotiableMOQ: 50000 Pieces