
 Business License
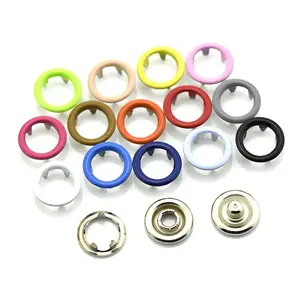
Custom Snap Buttons with Your Logo: Tooling and Approval Workflow
A custom snap button is a standard closure carrying the buyer's own mark, and nearly all of the work sits in the tooling and the approval loop rather than in the closure itself. The alloy, the spring and the socket geometry usually stay exactly as they would be on a stock part.
Stating that plainly explains why a custom snap button quotation separates tooling from unit price. It also explains why two designs that look equally simple can cost very different amounts, because the cost follows the number of sizes that each need their own die.
This guide follows the route from artwork to approved sample. It covers the marking methods available, what a button mold cost actually includes, how artwork is prepared for a die, the approval steps in order, and how tooling behaves on a reorder. It finishes with the problems that tend to appear after approval rather than before it.
1. What a Custom Snap Button Order Involves
A custom snap button order involves four decisions that a stock order does not: which face the mark goes on, how deep the mark is cut, how many sizes need their own tooling, and who owns the die afterwards.
Each decision is cheap to change on paper and expensive to change after a die is cut. Working through them before artwork is released avoids the most common cause of a delayed custom snap button project, which is a design revision arriving after tooling has started.
The scope question matters as much as the design. A mark on the cap of a snap closure costs one die, while the same mark on the cap, the socket and the stud costs three, and each one has to hold the same visual weight when it is stamped.
2. Logo Options: An Engraved Button Versus Other Marking Methods
Four marking methods cover most custom closures, and each produces a different result from the same body. The choice is driven by the mark itself, because fine detail and simple shapes do not survive the same process equally well.
| Method | How the mark is formed | Visual result | Suits |
|---|---|---|---|
| Engraved button | Die cuts the mark into the face | Recessed with sharp lines | Logos with fine detail |
| Debossed | Mark pressed below the surface | Soft recess | Simple shapes, plastic bodies |
| Embossed | Mark raised above the face | Raised, catches light | Short words and symbols |
| Printed | Ink applied to a flat face | Flat colour, no relief | Multi-colour marks on flat caps |
An engraved button keeps its definition through plating, because the relief is cut into the metal and the coating follows the same contour. A printed face behaves differently, since the colour sits on top of the surface and has to survive the same wear as the finish beneath it.
Relief depth is the variable that decides legibility. Roughly 0.15 mm to 0.25 mm reads clearly on a 15 mm face without making the mark feel sharp under a finger, while a deeper cut on a small face starts to weaken the surrounding metal.
3. Button Mold Cost: What the Tooling Quote Covers
A button mold cost is not a single number, and two quotations for the same design can differ because they include different elements. Separating the elements makes the comparison meaningful.
The ranges below are planning figures for a closure in the 12 mm to 20 mm range, and they move with the size of the part and the amount of detail in the mark.
| Cost element | Planning range | What drives it |
|---|---|---|
| Plain die, no logo | US$80 - 250 | Size and cavity count |
| Engraved die, single cavity | US$300 - 800 | Line weight and relief depth |
| Additional size die | US$200 - 600 | Whether the artwork is reused |
| Artwork separation | US$0 - 120 | Whether vector files are supplied |
| Sample run and courier | US$30 - 90 | Sample quantity and destination |
Two lines on that list are frequently omitted from a first quotation and then appear later. Artwork separation appears when a buyer supplies a bitmap rather than a vector file, and a sample run appears when the buyer expects a physical part before committing to the full order.
The clearest button mold cost quotation therefore states whether artwork preparation is included, how many dies the price covers, and whether the sample run is billed separately. Difei Button quotes tooling as its own line for that reason, so the figure can be weighed against the order quantity instead of being buried in the unit price.
4. Artwork and Die Preparation for a Custom Snap Button
Die preparation starts from vector artwork, and the shape of the file decides how much work sits between the design and a usable tool.
A vector file with closed paths goes to the die shop directly, while a bitmap has to be traced first, and tracing is where small inconsistencies appear in a logo with thin strokes. Line weight is the second constraint, because a stroke below roughly 0.15 mm tends to fill in during engraving rather than read as a line.
Minimum spacing matters as much as minimum line weight. Two elements that sit closer than about 0.2 mm apart merge into one shape once the die is cut, so a mark designed for print often needs a small adjustment before it is used on a custom snap button.
Most revision rounds happen at this stage rather than after tooling. Difei reviews artwork against the die shop's minimums before a die is ordered, which usually removes one full sampling cycle from the schedule.
5. Sampling a Custom Snap Button: From First Article to Approval
Sampling a custom snap button has two distinct purposes, and separating them keeps the schedule honest. The first is confirming that the mark is correct, and the second is confirming that the closure still performs as a closure.
The first article shows the engraved detail, the position of the mark on the face and the finish applied over it. Pull testing on the same sample confirms the closure still meets the figure the garment needs.
Not long ago an outerwear brand approved a logo on the first sample and then found that the mark sat slightly off centre once a full run was produced. The die was correct, but the marking position had been set from a hand-made sample rather than from the production fixture.
The fixture was remade with a positive stop, and the second run held the mark within about 0.2 mm of centre across the batch. Approving from a produced part rather than a hand sample is what closed that gap, and it added roughly five working days to a project that then ran without a further revision.
6. Approval Workflow for an Engraved Button Order
An approval workflow is easier to follow when each stage produces a document rather than a conversation, because a written approval is what protects both sides if a later batch is questioned.
The sequence below is the one that has proven reliable in practice. It is written as a chain of approvals rather than of activities, since each stage releases the next one and nothing else does.
| Stage | What is approved | Record kept |
|---|---|---|
| 1. Artwork check | Vector file and line weights | Signed artwork sheet |
| 2. Die approval | Engraving position and depth | Die drawing reference |
| 3. First article | Mark, finish and colour match | Sealed sample |
| 4. Performance check | Pull figure and closure feel | Test record |
| 5. Mass production release | The sealed sample itself | Batch reference |
Two habits keep an engraved button order on schedule. Sealing the approved sample physically, rather than approving from a photograph, and keeping the die drawing reference attached to the purchase order so the next run matches without renegotiation. Difei Button (Guangzhou) holds the sealed sample and the die reference in the same order file, so a reorder is released against the part the buyer already accepted.
7. How Button Mold Cost Is Amortised Across Reorders
Tooling is a one-time cost, which means the effective button mold cost per piece falls every time the same design is ordered again. How far it falls depends entirely on what the buyer negotiated the first time.
A logo die quoted at roughly US$500 spread across a first order of 20,000 pieces adds about 2.5 cents to each closure. On a reorder of the same size, the same die adds nothing, so the unit price drops without any change to the specification or the finish.
Two questions settle the arrangement before the first order is placed. Who holds the die after the order is complete, and is a repeat of the same size billed again. A written answer to both prevents the most common disagreement on a repeat an engraved button order, which is a second tooling charge for a die that already exists.
Where a design carries across several sizes, amortisation should be calculated per size and not per design. The artwork is shared, but each size still needs its own die, so the tooling total scales with the size range rather than with the number of logo variants.
8. Common Problems with a Custom Snap Button Logo
Problems with a custom snap button logo tend to surface two stages later than the decision that caused them, which is why they are worth naming in advance.
| Symptom | Usual cause | Preventive change |
|---|---|---|
| Mark fills in and loses detail | Line weight below the die minimum | Adjust strokes before tooling |
| Mark drifts off centre | Position set from a hand sample | Use a production fixture with a stop |
| Relief feels sharp to the touch | Cut depth too deep for the face | Reduce depth to about 0.2 mm |
| Plating hides the mark | Coating thickness exceeds relief depth | Confirm depth before plating |
| Colour varies between batches | Finish specified by name rather than by standard | Fix a physical colour standard |
A bag maker some time ago chose a deep cut for a logo on a 12 mm cap because the mark looked stronger on screen. In production the cut thinned the surrounding wall enough that the cap flexed under load, and Difei Button (Guangzhou) Co Ltd recut the die at roughly half the depth on the second run, which held the mark intact and restored the stiffness.
9. Frequently Asked Questions
9.1 How long does a custom snap button project take?
From approved artwork to a sealed sample usually runs about three to five weeks. Artwork review takes two to five working days, cutting the die around five to ten, and the first article another three to five days on top of that. Add shipping time for the sample to reach the buyer, which varies by destination. The variable that moves most is artwork quality, since a clean vector file removes the tracing stage entirely and a bitmap with thin strokes can add a full revision round before the die is even ordered.
9.2 Is an engraved button more expensive than a printed one?
An engraved button carries a higher tooling cost because a die has to be cut, while printing needs no die at all. Unit cost then reverses the comparison at volume, since engraving adds nothing per piece once the die exists and printing adds ink and a handling step to every closure. Engraving also holds its definition through plating, which printing does not. For a small first order printing can be cheaper overall, and for a repeat order the position usually flips.
9.3 What does the button mold cost not cover?
A button mold cost covers the die and the engraving of the mark itself, and it usually excludes several items that appear later. Artwork separation from a bitmap, additional dies for extra sizes, the sample run and its courier, and any change to the finish after the first article are normally billed separately. Plating setup for a non-standard colour may also sit outside the tooling quotation. Asking for the exclusions in writing before the order is placed is quicker than reconciling them on the invoice.
9.4 Can I get a custom snap button in more than one size?
Yes, but each size needs its own die, so the tooling total scales with the size range rather than with the design. The artwork itself is reused, which keeps the extra cost to the die and the sampling rather than the design work. Buyers consolidating a range often find that two sizes cover every garment in the line, which halves the tooling compared with four. Reviewing the size range before the first die is cut is the point at which that saving is still available.
Recently Posted
-
Snap Buttons for Bags, Luggage and Leather Goods
September 22, 2026A bag snap button works under a load pattern that clothing never produces. A closure on a garment faces a pull along the fabric pl Read More
 -
Snap Button Size Chart: Common Diameters and Fabric Limits
September 22, 2026A snap button size chart answers one question well and several badly if it is read too quickly: which diameter belongs on which fa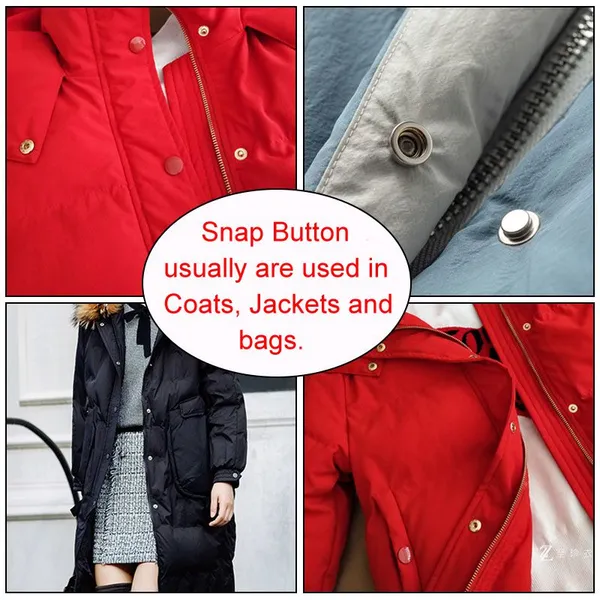 Read More
 -
Brass vs Stainless Steel vs Zinc Alloy: Metal Snap Button Materials Compared
September 22, 2026A metal snap button material settles four questions at once: how much pull the closure takes before it deforms, how it behaves in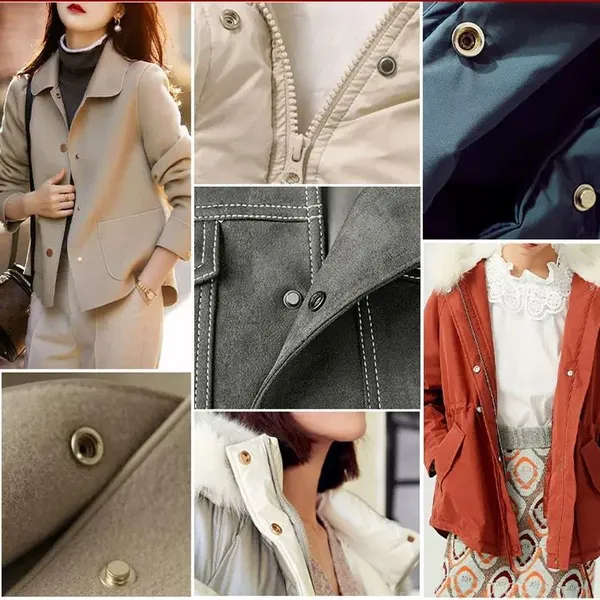 Read More
 -
What Is a Shank Button? Construction, Types and Sewing Applications
September 22, 2026A shank button sits on a raised stem instead of lying flat against the cloth, and that single detail decides where it belongs. The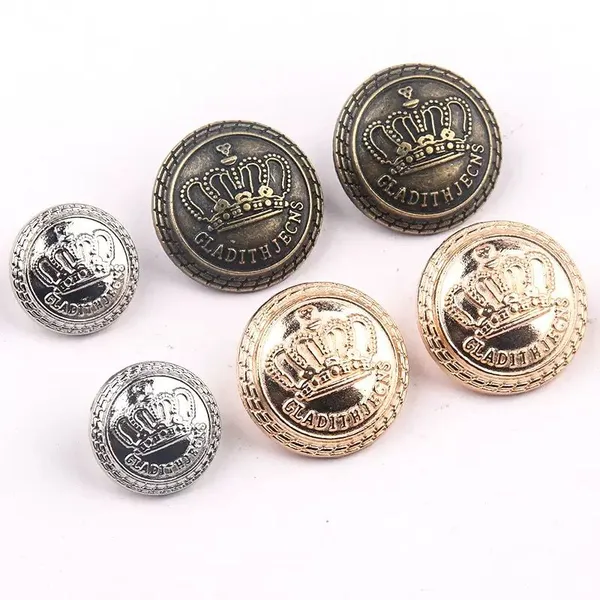 Read More

Contact Us
Recommended Products
-
 Clothing Accessories Lead Free Brass Metal Ring Prong Snap Button With 4 Parts for Infant Baby Clothes Baby BibsUS$ 0.01 - 0.03MOQ: 5000 Sets
 -
Brass Metal Stainless Steel Material Ring Prong Snap Button With 4 Parts Lead Free & Nickel Free for Infant Baby Clothes Baby Bibs Baby SuitsUS$ 0.01 - 0.03MOQ: 5000 Sets
-
Metal Grommets Eyelets Gold Eyelet for Bag Shoes and Garment AccessoriesUS$ 0.01 - 0.03MOQ: 5000 Sets
-
Cheap Price Custom Jeans Button Metal Custom Logo Metal Button for JeansUS$ 0.01 - 0.03MOQ: 5000 Sets
-
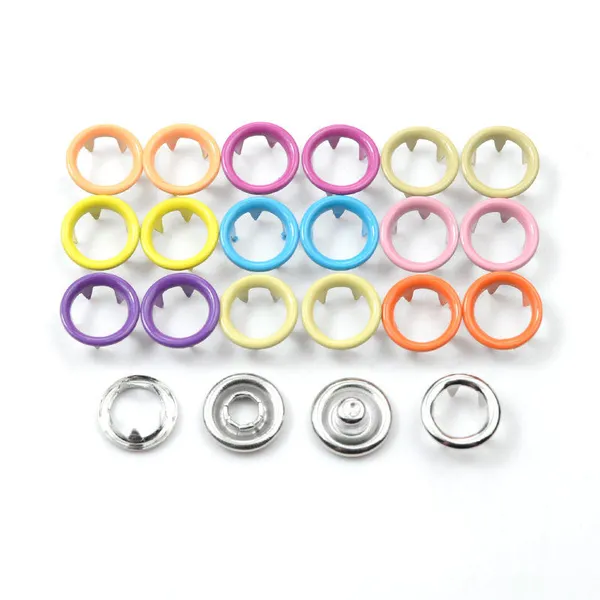
Factory Wholesale Hat Bag Clothing Press Snap Button Spring Snap Button Metal Snap ButtonsUS$ 0.03 - 0.06MOQ: 5000 Sets
-
Wholesale Plastic Round Coloured Snaps Button Press Fasteners for Baby Bibs/ Baby GarmentsUS$ 0.01 - 0.03MOQ: 50000 Sets
-
Custom EngravedCopper I Brass Metal Jeans Button Denim Clothes Jacket for Jeans DenimUS$ 0.01 - 0.03MOQ: 5000 Sets
-
17mm Open Hole Shank Button With Aluminum Nail With Logo for Jeans Jacket PantsUS$ 0.01 - 0.03MOQ: 5000 Sets
-
Eco-friendly Custom Size Plastic Snaps Plastic Snap Button for Baby Clothes, Baby BibsUS$ 0.01 - 0.03MOQ: 50000 Sets
-
12mm 15mm 17mm 20mm Four Parts Metal Brass Fastener Press Snap Button for Clothes JacketUS$ 0.03 - 0.06MOQ: 5000 Sets
-
Custom Logo Personalized High Quality Metal Press Snap Fastener Snap Buttons for Clothing Garments JacketUS$ 0.03 - 0.06MOQ: 5000 Sets
-
Custom Printing Round Press Spring Four Part Snap Button for Clothing Leather 405#17mmUS$ 0.03 - 0.06MOQ: 5000 Sets
-
OEM Garment Accessories Custom Baby Snap Button Press Metal Prong Pearl Ring Snap ButtonUS$ 0.01 - 0.03MOQ: 5000 Sets
-
Factory Stock Buttons Stainless Steel or Brass Material Colors Pearl Snap Button Prong Pearl Snap Button for Shirts ClothingUS$ 0.01 - 0.03MOQ: 5000 Sets
-
Durable 9mm POM Four Part Plastic Snap Buttons Lead Nickel Free Safe Fasteners for Baby Bibs and Children ApparelNegotiableMOQ: 50000 Sets
-
Plastic Snap Fasteners 9mm POM Lead Nickel Free Hardware for Baby Bibs Children Apparel Sewing ProjectsNegotiableMOQ: 50000 Sets
-
Four Part Plastic Snap Buttons 9mm POM, Custom Color OEM ODM for Apparel and Bed SheetsNegotiableMOQ: 50000 Sets
-
Automatic Feeding Compatible Four Part Plastic Snap Buttons for High-speed AssemblyNegotiableMOQ: 50000 Sets
-
Resin Snap Buttons 9mm POM Eco Friendly Garment Closures for Bed Sheets Outerwear Infant TextilesNegotiableMOQ: 50000 Sets
-
Eco‑friendly POM Made Four Part Plastic Snap Buttons 9mm Garment Snaps for Infant Textile ManufacturingNegotiableMOQ: 50000 Sets