
 Business License
What Is a Shank Button? Construction, Types and Sewing Applications
A shank button sits on a raised stem instead of lying flat against the cloth, and that single detail decides where it belongs. The stem lifts the button face clear of the fabric so a thick placket can close without straining the thread. Tailoring has leaned on the shank button for that reason for a very long time.
This guide works through the shank button from the inside out. It covers the parts the button is built from, how shank height follows fabric weight, the material and construction types available, and the thread path that keeps a sew on shank button secure. It closes with the faults that appear when one of those choices is wrong, and with the questions buyers ask most often about a shank button for coats and lighter garments.
1. What a Shank Button Is and Where the Name Comes From
A shank button is a button with a built-in stem on its underside, and the fixing thread passes through that stem rather than across the button face. The stem holds the button at a set distance from the fabric.
That distance is the whole design intent. On a flat two-hole or four-hole button, thread crosses the face and pulls the button down tight against the cloth. A shank button keeps its face proud, so a buttonhole, a placket edge or a heavy overlap can sit underneath without being compressed.
The name comes from the stem itself. In older tailoring vocabulary a shank was the neck that raised a button off the cloth, and the word stayed in use as the shank moved from a hand-tied thread loop into a moulded or stamped part of the button body. A modern shank button therefore carries its stem as a physical feature rather than borrowing one from the thread.
2. The Three Parts of a Shank Button
Nearly every shank button reduces to three functional areas, whatever material it is made from. Understanding them makes a specification conversation much shorter, because each area maps to something measurable.
The table below sets out what each area does and what a buyer can reasonably ask to be checked before a sample is approved.
| Area | Function | What to check |
|---|---|---|
| Face or crown | The visible surface the wearer sees | Diameter, profile, finish and colour match |
| Shank or stem | Raises the button off the cloth and carries the thread | Height in millimetres, wall thickness, hole diameter |
| Base or back plate | Closes the underside and spreads the load | Flatness, burr-free edges, seating against fabric |
| Thread hole | Accepting the fixing thread without abrasion | Radius of the hole edge, no moulding flash |
Two of these areas decide whether the button survives normal wear. The shank carries every tensile load the garment applies, and the thread hole edge decides whether the thread is cut through inside a season or holds for years. A generous hole radius combined with a wall thickness above roughly 0.8 mm resists both problems well.
3. Shank Height: Matching a Shank Button to Fabric Weight
Shank height is measured from the underside of the face to the end of the stem, and on garment buttons it typically runs from 2 mm to about 6 mm. The correct figure follows the thickness of the fabric stack that has to pass underneath the button.
A shank that is too short pulls the button down and compresses the placket, which shows as puckering around the button. A shank that is too long lets the button tip sideways under load and wears the thread early. The planning figures below are starting points for sampling rather than fixed rules.
| Garment or fabric stack | Typical shank height | Note |
|---|---|---|
| Shirting, light blouse | 2 - 3 mm | Thin single-layer placket |
| Jacket front, medium wool | 3 - 4 mm | Two layers plus interlining |
| Coating, heavy wool | 4 - 5 mm | Faced front adds a layer |
| Overcoat, felt or bonded | 5 - 6 mm | Thicker stack, more room needed |
| Fur or quilted panel | 6 mm and above | Usually a custom moulding |
The practical approach is to measure the finished fabric stack at the button position, add roughly 1 mm of clearance, and sample from that number. One measurement removes most of the guesswork from a shank button specification.
4. Types of Shank Button by Material and Construction
Shank buttons divide first by material and second by how the shank itself is formed. Both matter, because a moulded plastic shank and a stamped metal shank behave differently under the same load.
Metal bodies are usually brass, zinc alloy or stainless steel, with the shank formed during the same stamping or casting operation as the face. Plastic and resin bodies are injection moulded with the shank integral to the part, which keeps colour matching straightforward.
| Type | Material | Shank formed by | Typical use |
|---|---|---|---|
| Metal shank button | Brass, zinc alloy, stainless steel | Stamping or die casting | Suits, coats, uniforms |
| Plastic shank button | POM, ABS, resin | Injection moulding | Fashion garments, knitwear |
| Covered shank button | Fabric over a metal shell | Shell plus a separate shank | Tailored jackets, bridal |
| Thread shank | Any flat button plus thread | Built by hand or machine | Repair and bespoke tailoring |
Metal bodies accept nickel, brass, antique brass and gunmetal finishes, and a nickel-free plating route is available for buyers who need it. Plastic bodies cover a wide colour range without plating at all, which keeps the sampling cycle short. Difei Button (Guangzhou) stocks moulds for a number of standard shank sizes, so a stock-size sample usually arrives sooner than one that needs a new die.
5. Attaching a Sew On Shank Button: Thread Path and Tension
A sew on shank button is fixed by passing thread through the shank hole on the underside rather than across the face, and the technique is what keeps it sitting correctly.
The usual method for fixing a sew on shank button marks the position with a pin, brings the needle up through the fabric into the shank hole, and passes back down through the same opening. Repeating that four to six times builds the fixing. A few extra wraps around the thread bundle between the button and the fabric then form a small thread shank sized to the fabric stack.
Not long ago a tailoring workshop had a run of complaints about jacket buttons pressing a dent into the front panel after a few weeks of wear. The buttons tested sound when one was pulled loose for inspection, and the shank height matched the cloth correctly. What had changed was the attachment, because operators were pulling the thread hard against the fabric instead of leaving a loose wrap.
Once the wrapping step was reintroduced, with roughly 3 mm of thread left between the button and the cloth, the denting stopped and the buttons sat level. Two habits made the difference on that line: wrapping the thread bundle rather than knotting it tight, and finishing with two locking stitches buried in the wrap. A sew on shank button finished that way can also be re-sewn in place later without the wrap being rebuilt from scratch.
6. Covered Shank Buttons: Fabric, Adhesive and Finish
A covered shank button takes a metal shell and wraps the same fabric as the garment over the face, so the button disappears into the design while keeping a working shank underneath.
The result depends on the shell more than on the cloth. A thin shell telegraphs the weave of a heavy fabric through the face, and an over-filled shell produces a domed button that reads as a different season. Matching the shell to the fabric weight matters more than matching the colour exactly.
Adhesive and heat setting decide how the covered face holds its shape through cleaning. A solvent-resistant adhesive is the safer choice for tailored jackets, and it should be specified at sampling rather than assumed. Faces on jackets and waistcoats commonly fall between roughly 12 mm and 25 mm in diameter, with the shell depth stepped to suit the cloth. Difei supplies shells in a small range of depths so a heavy coating and a light wool can both be covered without changing the spec.
7. Choosing a Shank Button for Coats and Heavy Outerwear
A shank button for coats carries more load than any other button in a wardrobe, because a coat front is pulled open and closed against a heavy fabric stack several times a day.
Four properties settle the choice. Shank height has to clear the faced front, wall thickness has to take the pull, the plating has to survive cleaning, and the face profile should be smooth enough not to catch a lapel. The table below sets out planning figures by garment type.
| Garment | Face diameter | Shank height | Body material |
|---|---|---|---|
| Wool coat | 20 - 25 mm | 4 - 5 mm | Brass, plated |
| Trench coat | 18 - 22 mm | 3 - 4 mm | Brass or zinc alloy |
| Parka or field jacket | 15 - 20 mm | 3 - 4 mm | Zinc alloy, matte finish |
| Blazer | 18 - 22 mm | 3 - 4 mm | Brass, nickel-free option |
A coat maker sourcing for a winter range recently consolidated four button sizes down to two, after a sampling round with Difei Button showed that both remaining sizes covered every fabric stack in play. The change cut tooling and simplified the reorder, and no garment in the range suffered for it.
8. When a Shank Button Comes Loose: Causes and Fixes
Shank button failures fall into a small number of patterns, and each one points back to a specification or attachment decision rather than to random wear. Whether the button is a moulded part or a sew on shank button fitted by hand, the patterns below read the same to the wearer.
Reading the failure before replacing the button saves a repeat problem. The table below pairs the symptom with the usual cause and with the change that prevents it.
| Symptom | Usual cause | Preventive change |
|---|---|---|
| Button tips sideways | Shank too tall for the stack | Reduce shank height by about 1 mm |
| Fabric puckers around the button | Shank too short, thread pulled tight | Increase height, wrap a thread shank |
| Thread frays within a season | Sharp edge at the shank hole | Specify a radiused hole with no flash |
| Shank cracks at the base | Wall too thin for the load | Move to a metal body or a thicker wall |
| Plating wears at the crown | Finish unsuited to the cleaning method | Specify a solvent-resistant plating |
Difei Button (Guangzhou) Co Ltd runs a pull test on the assembled garment whenever a buyer can supply the fabric, because the figure for a loose button and the figure for a button sewn into a faced placket are not the same number. That test is arranged during sampling so the result arrives with the sample rather than after it.
9. Frequently Asked Questions
9.1 What is the difference between a shank button and a flat button?
A shank button carries a stem on its underside and is fixed by thread passing through that stem, while a flat button sits directly on the cloth with thread crossing its face. The practical difference is clearance, because a shank button holds its face clear of the fabric and suits thick plackets where a flat button would compress the layers. A flat button sits lower and closer, which suits shirts and lighter garments, and it is usually the cheaper part to specify. Choosing between the two comes down to how much fabric has to fit underneath and how visible the fixing thread should be.
9.2 How do you sew on a shank button so it stays tight?
Pass the thread through the shank hole repeatedly rather than across the button face, then wrap the thread bundle between the button and the cloth to build a small shank. Leave roughly 3 mm of thread exposed so the button can move slightly with the fabric instead of pulling on it, and finish with two locking stitches buried in the wrap. The wrap is what stops the button from tearing the cloth when it is pulled. That step is the one most often skipped when a button is replaced in a hurry, which is why replaced buttons tend to fail sooner than factory-fitted ones.
9.3 Which shank button for coats should I specify?
A shank button for coats usually means a face of 20 mm to 25 mm on a brass or plated body, with a shank height of 4 mm to 5 mm to clear a faced front. Confirm that the plating suits dry cleaning, and ask for the wall thickness if the garment will be worn hard. Where a coat is laundered rather than dry cleaned, a stainless steel or plastic body avoids plating wear altogether. Sampling with the real fabric stack remains the reliable check, because the correct shank height follows the stack rather than the garment category.
9.4 Can a shank button be used on lightweight fabric?
Yes, with a short shank and a small face, which is why shirting uses a 2 mm to 3 mm shank rather than the height a coat would need. Keep the thread wrap minimal so the button does not pull the cloth out of shape, and use a fine thread matched to the fabric colour. Very light or loosely woven fabrics sometimes need a small backing disc behind the cloth to spread the load. On delicate fabric a plastic body is often the safer choice than a metal one, because it weighs less and has a rounded base.
Recently Posted
-
Snap Buttons for Bags, Luggage and Leather Goods
September 22, 2026A bag snap button works under a load pattern that clothing never produces. A closure on a garment faces a pull along the fabric pl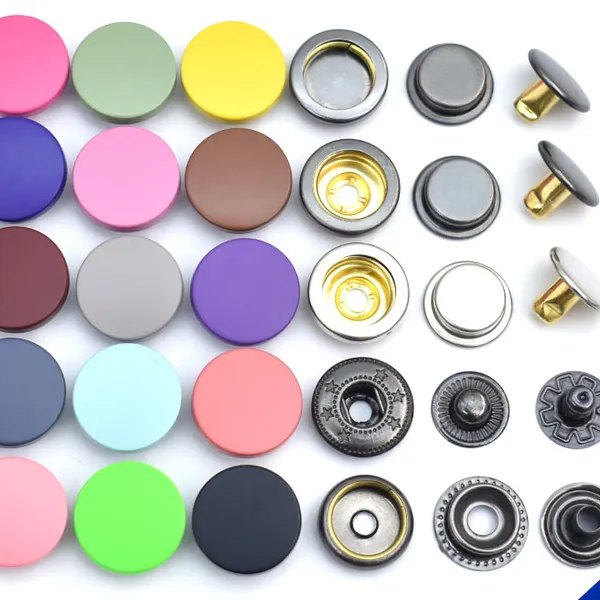 Read More
 -
Snap Button Size Chart: Common Diameters and Fabric Limits
September 22, 2026A snap button size chart answers one question well and several badly if it is read too quickly: which diameter belongs on which fa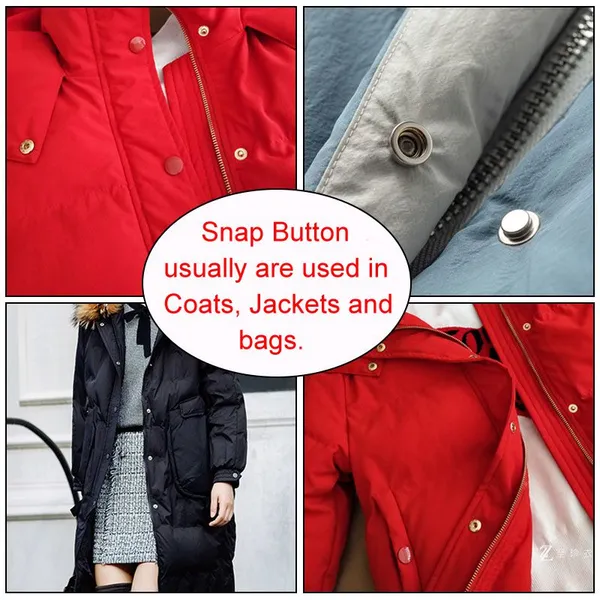 Read More
 -
Custom Snap Buttons with Your Logo: Tooling and Approval Workflow
September 22, 2026A custom snap button is a standard closure carrying the buyer's own mark, and nearly all of the work sits in the tooling and the a
Read More -
Brass vs Stainless Steel vs Zinc Alloy: Metal Snap Button Materials Compared
September 22, 2026A metal snap button material settles four questions at once: how much pull the closure takes before it deforms, how it behaves in Read More

Contact Us
Recommended Products
-
 Clothing Accessories Lead Free Brass Metal Ring Prong Snap Button With 4 Parts for Infant Baby Clothes Baby BibsUS$ 0.01 - 0.03MOQ: 5000 Sets
 -
Brass Metal Stainless Steel Material Ring Prong Snap Button With 4 Parts Lead Free & Nickel Free for Infant Baby Clothes Baby Bibs Baby SuitsUS$ 0.01 - 0.03MOQ: 5000 Sets
-
Metal Grommets Eyelets Gold Eyelet for Bag Shoes and Garment AccessoriesUS$ 0.01 - 0.03MOQ: 5000 Sets
-
Cheap Price Custom Jeans Button Metal Custom Logo Metal Button for JeansUS$ 0.01 - 0.03MOQ: 5000 Sets
-
Factory Wholesale Hat Bag Clothing Press Snap Button Spring Snap Button Metal Snap ButtonsUS$ 0.03 - 0.06MOQ: 5000 Sets
-
Wholesale Plastic Round Coloured Snaps Button Press Fasteners for Baby Bibs/ Baby GarmentsUS$ 0.01 - 0.03MOQ: 50000 Sets
-
Custom EngravedCopper I Brass Metal Jeans Button Denim Clothes Jacket for Jeans DenimUS$ 0.01 - 0.03MOQ: 5000 Sets
-
17mm Open Hole Shank Button With Aluminum Nail With Logo for Jeans Jacket PantsUS$ 0.01 - 0.03MOQ: 5000 Sets
-
Eco-friendly Custom Size Plastic Snaps Plastic Snap Button for Baby Clothes, Baby BibsUS$ 0.01 - 0.03MOQ: 50000 Sets
-
12mm 15mm 17mm 20mm Four Parts Metal Brass Fastener Press Snap Button for Clothes JacketUS$ 0.03 - 0.06MOQ: 5000 Sets
-
Custom Logo Personalized High Quality Metal Press Snap Fastener Snap Buttons for Clothing Garments JacketUS$ 0.03 - 0.06MOQ: 5000 Sets
-
Custom Printing Round Press Spring Four Part Snap Button for Clothing Leather 405#17mmUS$ 0.03 - 0.06MOQ: 5000 Sets
-
OEM Garment Accessories Custom Baby Snap Button Press Metal Prong Pearl Ring Snap ButtonUS$ 0.01 - 0.03MOQ: 5000 Sets
-
Factory Stock Buttons Stainless Steel or Brass Material Colors Pearl Snap Button Prong Pearl Snap Button for Shirts ClothingUS$ 0.01 - 0.03MOQ: 5000 Sets
-
Durable 9mm POM Four Part Plastic Snap Buttons Lead Nickel Free Safe Fasteners for Baby Bibs and Children ApparelNegotiableMOQ: 50000 Sets
-
Plastic Snap Fasteners 9mm POM Lead Nickel Free Hardware for Baby Bibs Children Apparel Sewing ProjectsNegotiableMOQ: 50000 Sets
-
Four Part Plastic Snap Buttons 9mm POM, Custom Color OEM ODM for Apparel and Bed SheetsNegotiableMOQ: 50000 Sets
-
Automatic Feeding Compatible Four Part Plastic Snap Buttons for High-speed AssemblyNegotiableMOQ: 50000 Sets
-
Resin Snap Buttons 9mm POM Eco Friendly Garment Closures for Bed Sheets Outerwear Infant TextilesNegotiableMOQ: 50000 Sets
-
Eco‑friendly POM Made Four Part Plastic Snap Buttons 9mm Garment Snaps for Infant Textile ManufacturingNegotiableMOQ: 50000 Sets